Showing posts with label crystal effects. Show all posts

Thursday, January 23, 2014

rainbow dreams

i love rainbows
they are something very special

here's card i made based on a sketch challenge from retro sketches

 i used my aqua painter to paint the rainbow using a variety of su inks onto whisper white
i also coloured the background with the aqua painter too and stamped the love hearts from million dollar moments
 the bows on the kite tail are made from the triangle punch
 clouds are made with whisper white covered with coffee filter paper covered with crystal effects and glitter
kite is made using the triangle punch

hope it lifts your spirits to face the world today

cheers ears

Tuesday, December 6, 2011

earrings

i bet you never thought about making earrings out of paper huh?
well these beauties are sooooooooooooooooooooooooooooo
easy to make-a bit time consuming-but so easy.

all you need is some earrings, some stamps, some beads and a bottle of crystal effects
and this is what you get!
 these were made using the small oval punch and the bird from the four frames stamp set.
just splodged a bit of red on the belly and grey card for the back
 these earrings were made from frightful sight dsp, 1" circle punch, some red card and ink
 these were made from the domestic goddess dsp, 1" circle punch, 3/4" circle punch, red card and ink
these were made from the forest friends set, 1"circle punch, red card and a sprinkle of glass glitter

the earrings are very simple to make.
just ink up a stamp onto card
punch it out
pour crystal effects all over one side
leave to dry for 24 hours
turn over
cover with crystal effects
leave to dry for 24 hours
punch out a little hole using your1/16" punch
add your earring attachments

it is really important to leave the crystal effects to dry 
until it is hard otherwise you get fingerprints in it :>

pop on over to the creative crew for more awesome challenges

cheers ears

Sunday, March 20, 2011

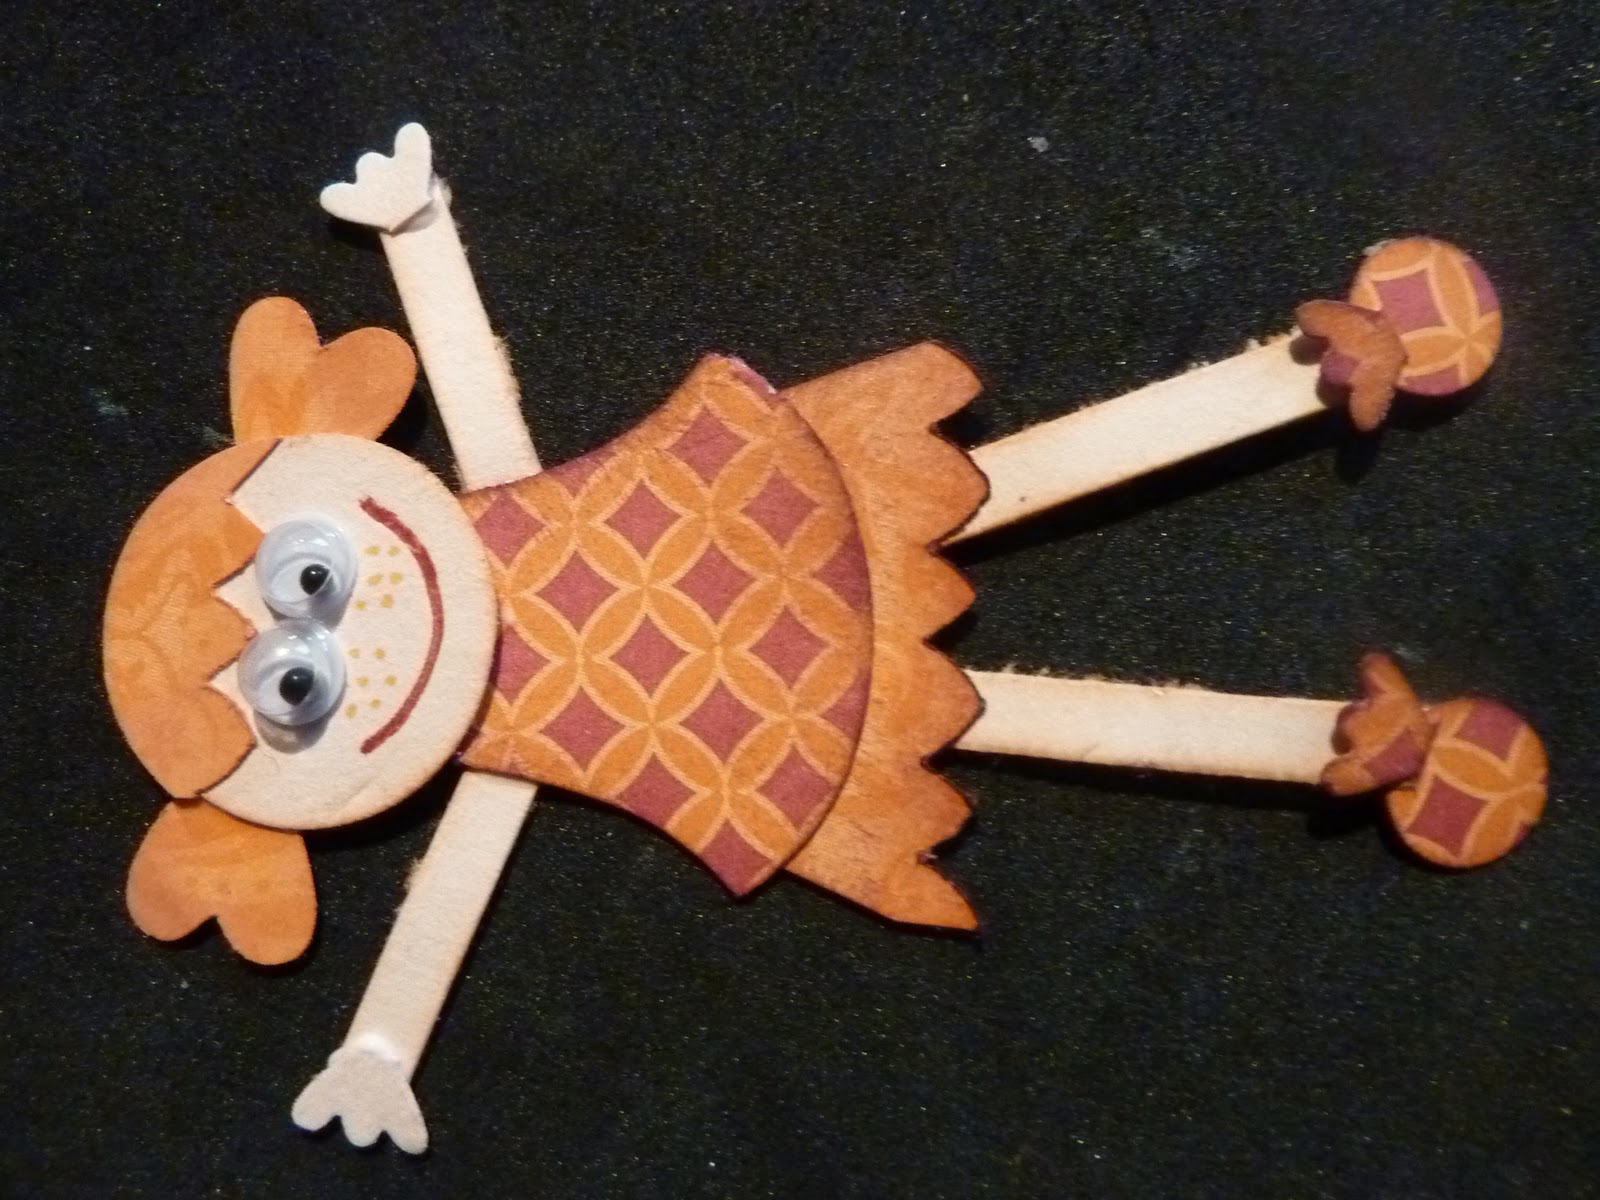
punching fairies

feel like punching a fairy?

i can help you out

 here's what punches you will need
all stampin up, of course!
owl punch
scallop edge 
3/4" circle
heart to heart
and the bigz butterflies die

 face is 3/4" circle in blush blossom (retired)
orange hair is scallop edge punch X2 and then a piece is taken out by the 3/4" circle
tiny love hearts for piggie tails
googley eyes
some pumpkin pie marker for freckles and cherry cobbler for mouth
please note: if you have no blush blosson card then use whisper white and colour in with blush blossom marker
 body is owl waistcoat
skirt is scallop edge x2
4 strips of blush blossom
 hands are legs from owl
feet are owl eyes and legs
 i use tombow to stick mine together-it is fab stuff!
i have also sponged aoudn the edges of everything just to finish it off
 her wand was easy to make.
some thin wire, a star sequin and a rhinestone

 i added some rhinestones to her dress
and stuck her wings onto her
then i inked up a bog standard wooden peg
i stuck the wand in place with crystal effects
 
i added some crystal effects to her wings
and to her hair.
now she has a magnet strip stuck to the peg and she is ready to be attached to the fridge
but not mine unfortunately

she is a present for someone special!!!

Monday, September 27, 2010

scrapbooking su style

 i have been getting into my scrapbooking again lately 
because stampin up have brought out a new fabulous range of 
papers and embellishments that i just love to bits
it is almost like they asked me what my favourite things were and decided to stock only that!
needless to say i am going to have to do a lot more workshops and catalogue demonstrations to get all the goodies i want in my hot little crafty hands.
 here's a page i scrapped recently of my mum's wedding. 
she had yellow roses in her boquet so hence my use of daffodil delight with the love letter dsp.
i have used a lot of differnt su things to make this page 
including the scallop envelope for my journalling and the daubering i have added to the squiggle

on the corner i have used some antique, jumbo, mini, and flower brads and buttons.

on the photo (it's ok-it's a photocopy!!) i used my aqua painter to colour in the flowers and then used crystal effects to make them sticky outy

in the top corner by the squiggles i added a paper daisy, with a clear button and some dsp underneath it. unfortunately the gold string and clear buttons have retired...good thing i stocked up on them huh?!!!


 there are a few more pages i want to showcase so come back tomorrow for another look and please feel free to leave a comment!

cheers ears

Tuesday, June 15, 2010

a girly present idea

another birthday present to present! this time i made a simple gift for a freinds' 12 year old girl. i wanted something simple, girlie and, lets face it, cheap lol
i used a sweet treats cup as the centre of the flower and used my small oval punch for the petals. i daubered the petals and glittered them too inside the sweet treats cup is the gift there is an opening at the back of the card where the gift can be removed see! just pull up a flap from the back and voila! here is the necklace and earrings i made using the small tag punch and the always stamp set i put crystal effects all over them as well as a teeny bit of bling in the form of a diamante i hope she liked her gift-teenagers are quite a tricky gift making group to make for