i saw some paper rosettes in a craft mag the other day and thought to myself how easy are they really?
so hunted the www and found one i liked i had to tweak it for my use and this is what i came up with
get some 12 x 12 paper (i used scrap paper) and score it every inch.
this is where a scoring tool is VERY useful:>
then cut along the paper
i tried anything from 3cm to 7cm.
most of mine were 5cm
just make sure you cut 2 the same width :>
stick tape at each end
you could use glue but i foudn tape was waaaay easier
stick the two strips together end to end
then fold on the score lines.
if you are brave or infinitely tidier than me then feel free to do the folds free hand and do away with the whole scoring part.
the trick is to give it a squeeze every ten folds or so to really squish it all together.
stick the ends together to make a zig zaggy circle.
it doesn't matter what side is in the middle.
then i punched out the bits to go in the middle from a variety of punches. i used a brad in the middle. i have also used buttons which work well (especially when i don't have the colour brad to match :>) and you just hot glue the button into place.
now this can be the annoying part.
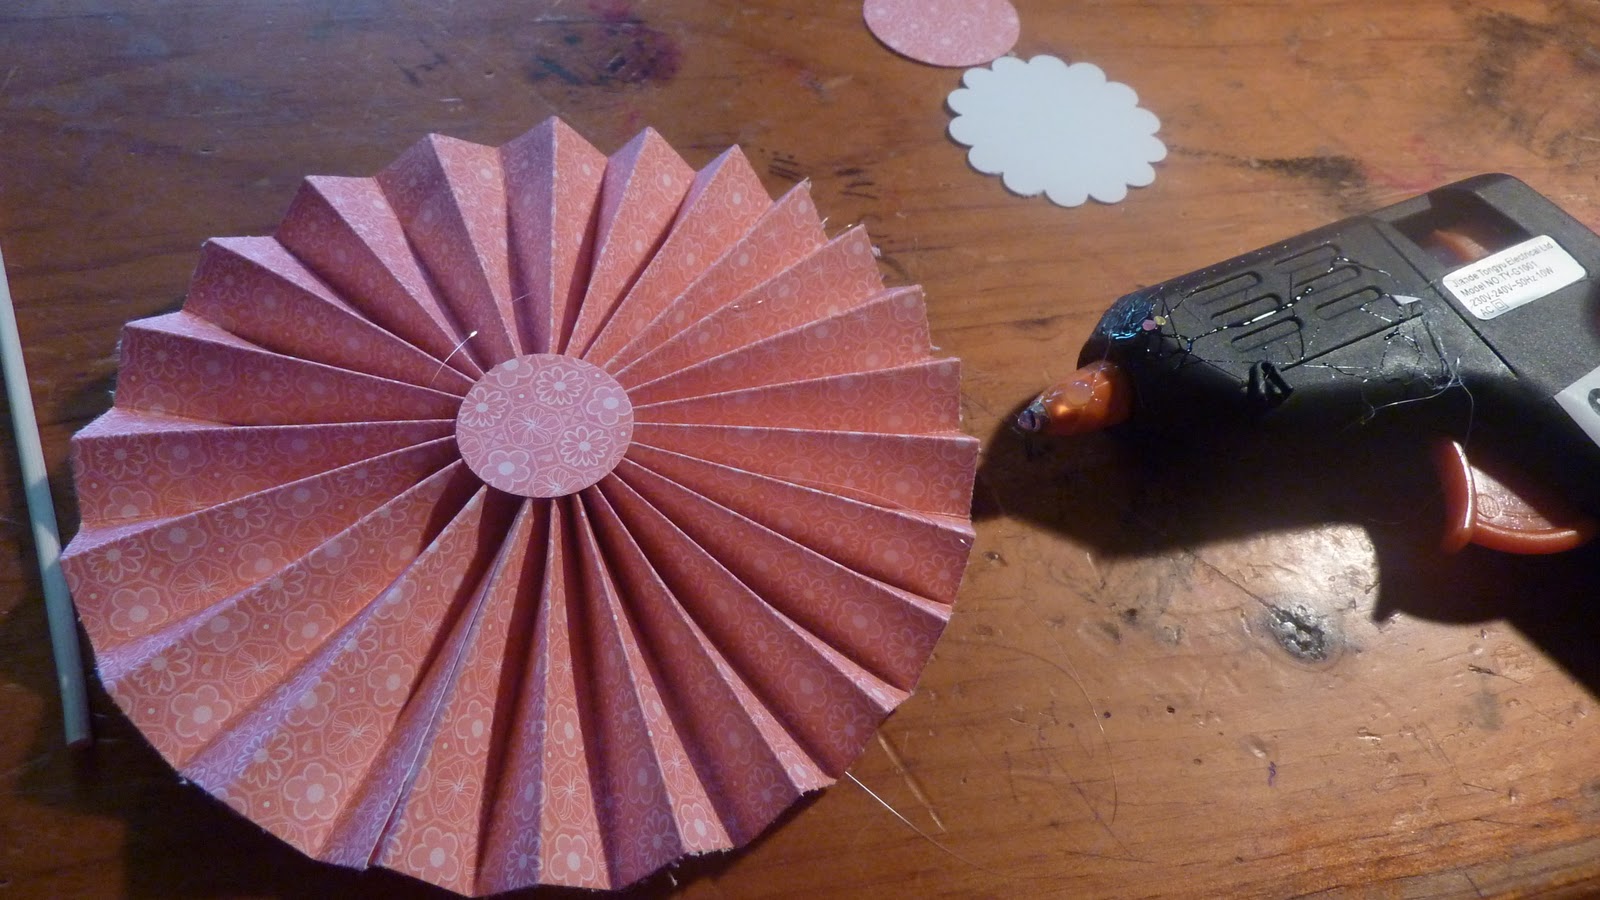
to get the zig zag like this all you do is push your circle into the middle and lay it flat. use all your powers of finger dexterity to stop it kapowing back out at you!!!
because it will....
..especially if some small child suddenly needs you right away to look at something very important like the poo they have done in the toilet (aahh toilet training-don't you just love it??!!)....
to get it staying put grab your glue gun and squeeze a bit of glue in the hole in the middle and spread a little bit around the top.
put a small circle (i used a 1" circle) on top of the glue and hold it there for about 10 seconds....hopefully your fingers wont burn too much :>
fingers crossed it is stuck enough for you to quickly flip it over and glue the other side and stick a circle down there too.
then you should be ok to decorate it.
add your middle bit with hot glue
and ta-da!!!
it should look something like this.
you can then add it to a scrapbook page or a card or turn into a 3-d flower or on a pennant or a wreath...a thousand zillion uses
for the flower grab a bamboo skewer
and poke it into the middle of the back gently
and you should end up with something like this
now if you wanted to be a little bit fancy
you can make your ends prettier by punching them with border punches. do this before you go and do the foldy zigzag bit. as you can see different punches make different results.
you can also sponge the edges or distress them-whatever takes your fancy really.
here's a selection of some i have made
hope this was easy for you to follow
and please leave a link to show yours off to me if you try to make some :>