Showing posts with label flowers. Show all posts

Friday, March 20, 2015

you made my day

final card using my "design feature" paper
 this is a gate fold card
i made the background with flowers and sequins
i used a heart punch cut in half to make the bikini and added some butchers twine to them

cheers ears

Wednesday, March 18, 2015

dancing is dreaming with your feet

here's an easel card i made with my "design feature" paper
 a row of flowers drawn freehand with some bling.
        the girl was made using 
       the bow tie punch for the dress,
    bird punch for the arms, legs and hair.
the sentiment was made with the rotary stamp

cheers ears

Monday, August 25, 2014

YOU ROCK!!!!

one of my favourite new stamp sets
from the new 14/15 stampin up catalogue
is the you rock stamp
this was my swap for my eb monthly card swap
each month we have a theme
this month was tiles and flowers
if you ever feel like joining us contact me for more details
we would love new members from anywhere in australia

cheers ears

Tuesday, July 8, 2014

flowers in a box

i seem to have taken a huge fancy to the new card in a box trend
here's one with flowers made as a sympathy card

 i used a variety of autumn colours and added butterflies with pearls to the flowers
i punched the edges with a heart border punch and added some matching washi tape

cheers ears

Tuesday, June 17, 2014

pocketful of posies


another card in a box
with some purple flowers with a retro feel to them

 i used the pansy 
and the blossom punches 
with a variety of the smaller circle punches
 side view
 back of the card where a message can be written on

hope the customer likes it

cheers ears

Friday, June 6, 2014

orange rose of victoria

i have just gotten back from the south pacific convention 
and we were lucky enough to have a play
 with the new blendabilities coming from stampin up 
but also got a free stamp set and pens to play with
woohoo!
i love being a demo!!

so i decided to use my new goodies for a colour challenge 
CCREW0614DF
using our favourite colour
mine is orange so these pens are pretty close
we were also encouraged to use our favourite colour 
in a new colour combo 
so i used a colour i don't like 
(old olive) and soft suede

 i also made a box card using the tutorial from split coast stampers which was easy to follow
i made mine with naturals specialty card which made it quite chunky and hard to fold
....just so you know lolol
firstly i stamped the flower using versamark and black embossing powder 
(although there will be a momento black ink especially for this purpose very soon)
 i coloured in the new flower stamp from the 14/15 catalogue using the new blendabilities we got
i started using the lightest one first and then got darker and darker
around the edges i used normal pumpkin and caramel markers and then added some crystal effects
inside the box/card i used some watercolour wonder dsp and a stamp from a new stamp set
this was sent to a friend for her birthday 

cheers ears

Monday, June 2, 2014

butterfly dancer

i seem to be on a theme this month with my butterflies
so here is another play with my butterfly punches.
this one was for the creative crew
to celebrate your best friend on a scrapbook page or by making a gift for them. 
this is a gift for a friend going through a lot at the moment and she loves butterflies
and pink ones as well....
i was inspired by a picture i pinned on my pinterest boards and changed it a bit to suit what i wanted and the materials i was using
 her hair was made using caramel card stock and then drawing strands of hair using a variety of oranges, browns, white gel pen, gold and kindy glitz
 
i also layered the card to give it some extra dimension
 flowers were done using white embossing powder stamped using a tiny flower from a new set from the new 2014/15 catalogue
 skin was done using light pinks sponged on lightly.
dress was melon mambo sponged with mambo and white
 background was sponged using a variety of blue and green inks layered from light to dark on a soft sky 12x12" card stock

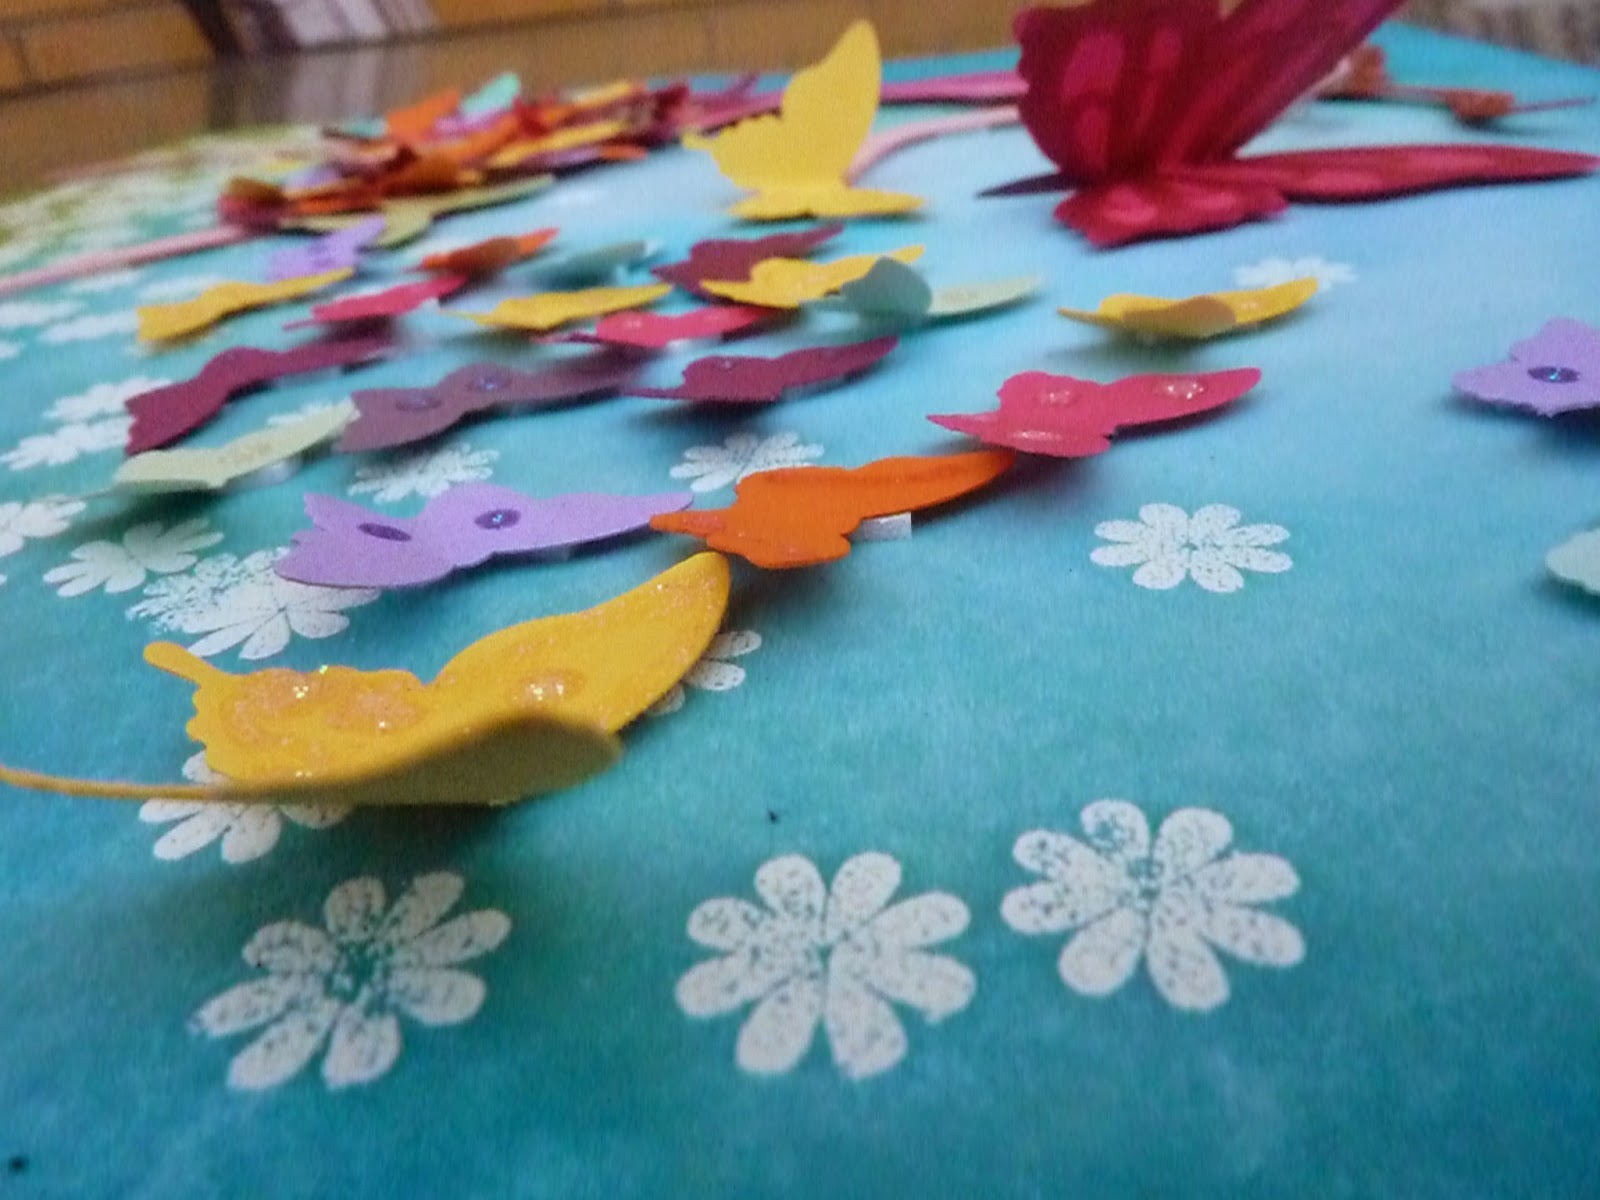
butterflies were stuck on with dimensionals with 1 wing up with kindy glitz to give more 3d effect.
the butterflies on the dress were quite hard to position and most are stuck down just using snail but some are stuck using glue dots.
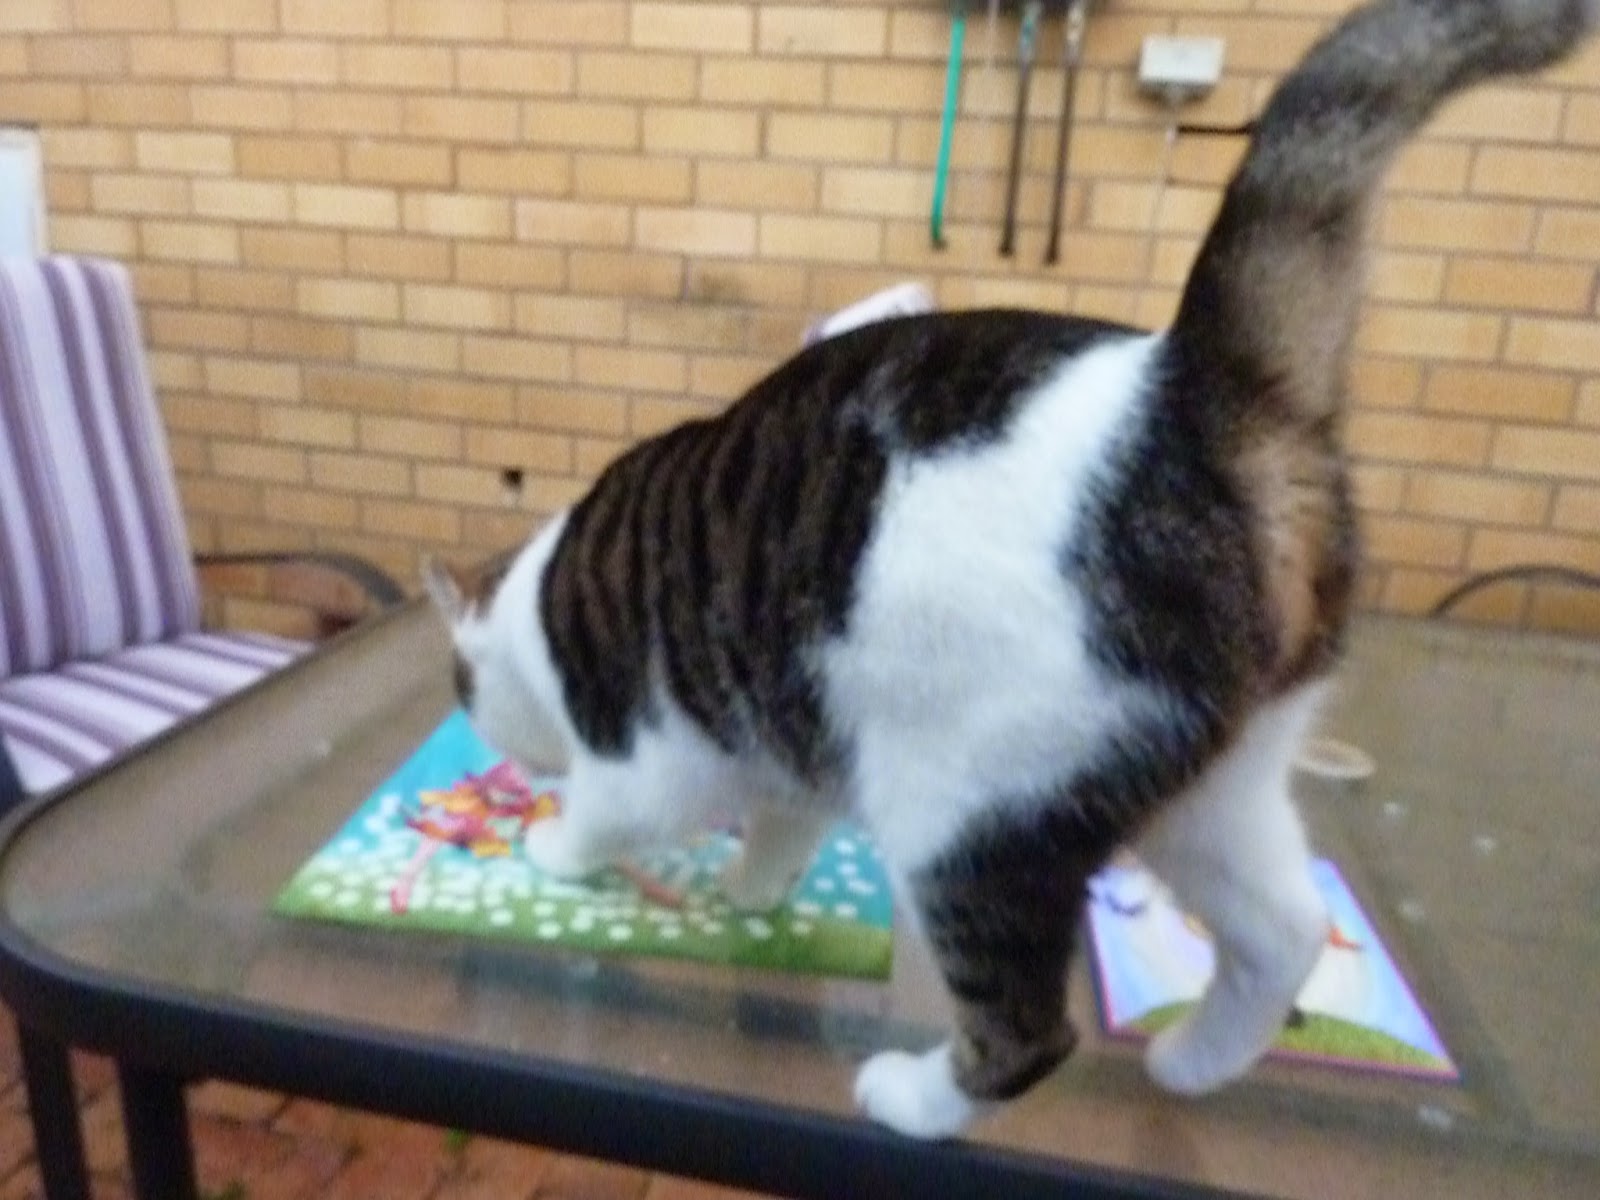
here is my feline "helper" checking my stuff out while i am attempting to take a photo. she was rather bemused by the butterflies and tried to eat some of them before she was very unceremoniously shooed from the table...much to ehr disgust lololol

cheers ears

Monday, April 21, 2014

washi and flowers

i love washi tape.
it is so useful and easy and cheap and forgiving

here's a book mark i made inspired by this crafter anneke who makes quite a lot of very cool stuff

 i stamped notable notions on and 
then glued filter paper over, 
then added soem washi tape and 
some punch art flowers with a sentiment to make a book mark
seem to have a thing for book marks lately.
keep in touch to see what else i make

cheers ears

Wednesday, February 5, 2014

little yellow dinosaur

here's a cute little dinosaur i made for a birthday girl

 got to have eyelashes and a butterfly on your nose to make you cuter
 some pretty flowers
 i used love hearts on her back instead of spots
the whole picture was put onto a piece of chipboard so ti can hang on a door or wall

cheers ears

Wednesday, July 17, 2013

using up your stash

stash
it is a nasty word
especially when you have a bit of it and need to use it up
i am trying to cut down on my random purchases this year and use what i have got first
HAHAAHAHAHAAHAHAHAAHAAHA i hear you laughing because WHAT CRAFTER IN THEIR RIGHT MIND hasn't said that before riiiiight?!

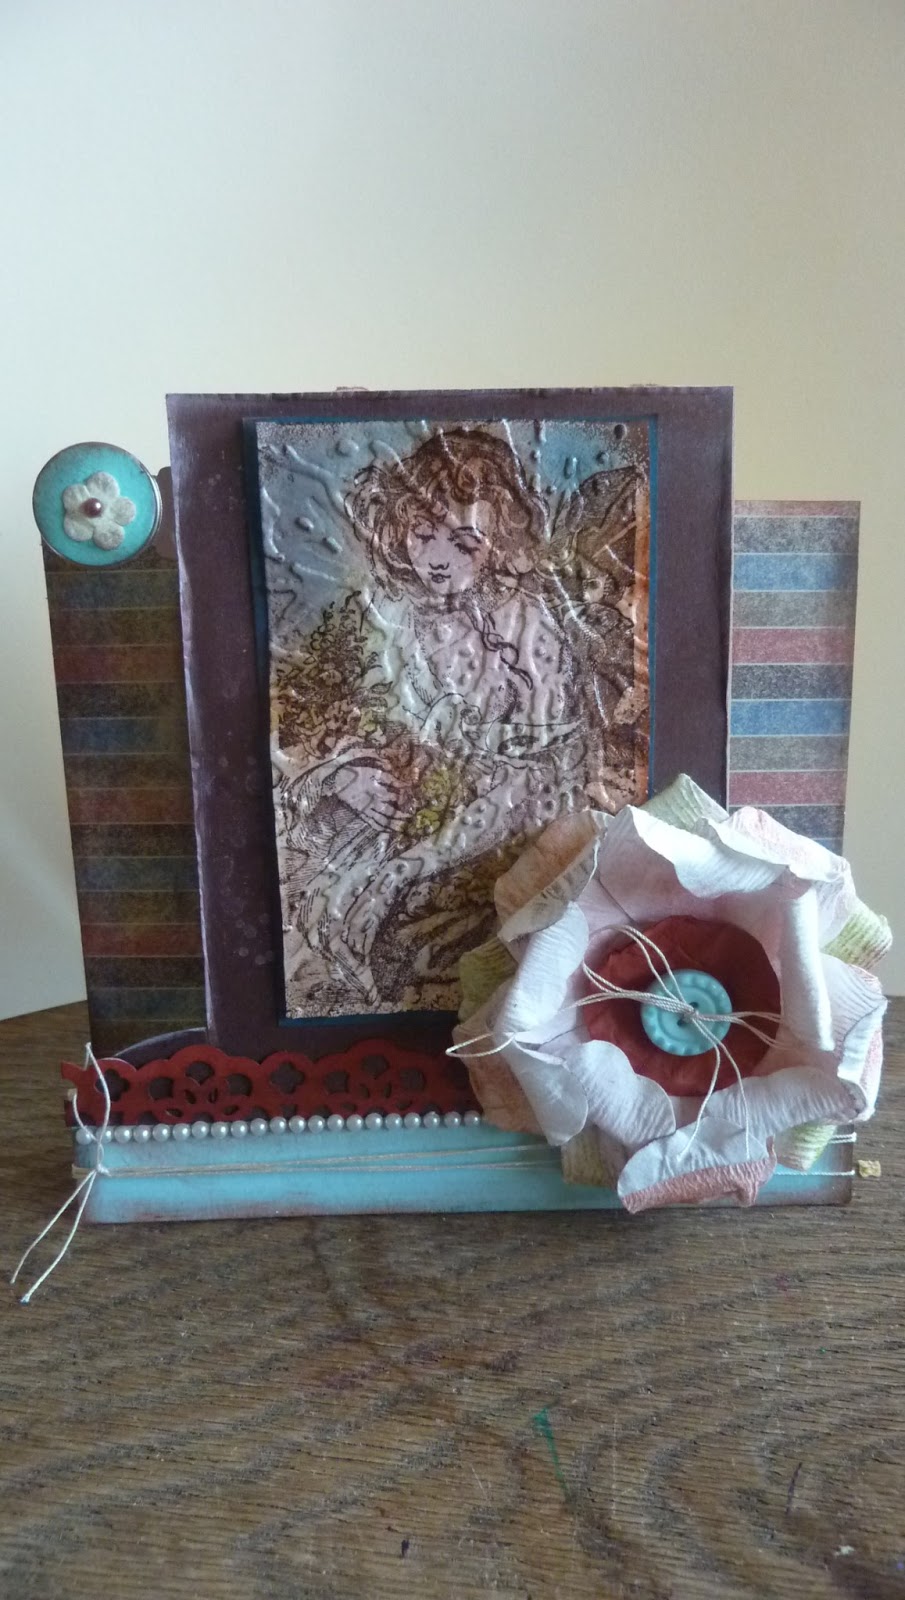
anyways my friend sal gives us cardmakers these really cool swaps to do over at essential baby  and i try really hard to use stuff that i haven't touched at all or can't remember the last time i used it. our challenge was to do a centre step card and use stripes and people.
 a centre fold card is easy even for a non-measuring type of chick like me. for instructions go to splitcoast stampers  and they are very simple to follow. i used some retired su dsp for the stripes and an old fashioned stamp from my stash as the image.
 i wanted the image to look old so put it through the big shot with a broken window embossing folder and then put clear embossing over the top
i also added some embroidery string, flowers from a reverse garbage trip, punched out trim  and a row of small pearls.
i hope my swap girls like them
cheers ears

Sunday, January 15, 2012

paper rosettes

i saw some paper rosettes in a craft mag the other day and thought to myself how easy are they really?
so hunted the www and found one i liked
i had to tweak it for my use and this is what i came up with
 get some 12 x 12 paper (i used scrap paper) and score it every inch.
this is where a scoring tool is VERY useful:>
 then cut along the paper
i tried anything from 3cm to 7cm. 
most of mine were 5cm
just make sure you cut 2 the same width :>
 stick tape at each end
you could use glue but i foudn tape was waaaay easier
 stick the two strips together end to end
 then fold on the score lines.
if you are brave or infinitely tidier than me then feel free to do the folds free hand and do away with the whole scoring part. 
the trick is to give it a squeeze every ten folds or so to really squish it all together.
 stick the ends together to make a zig zaggy circle.
it doesn't matter what side is in the middle.
 then i punched out the bits to go in the middle from a variety of punches. i used a brad in the middle. i have also used buttons which work well (especially when i don't have the colour brad to match :>) and you just hot glue the button into place.
 now this can be the annoying part.
to get the zig zag like this all you do is push your circle into the middle and lay it flat. use all your powers of finger dexterity to stop it kapowing back out at you!!!
because it will....
..especially if some small child suddenly needs you right away to look at something very important like the poo they have done in the toilet (aahh toilet training-don't you just love it??!!)....
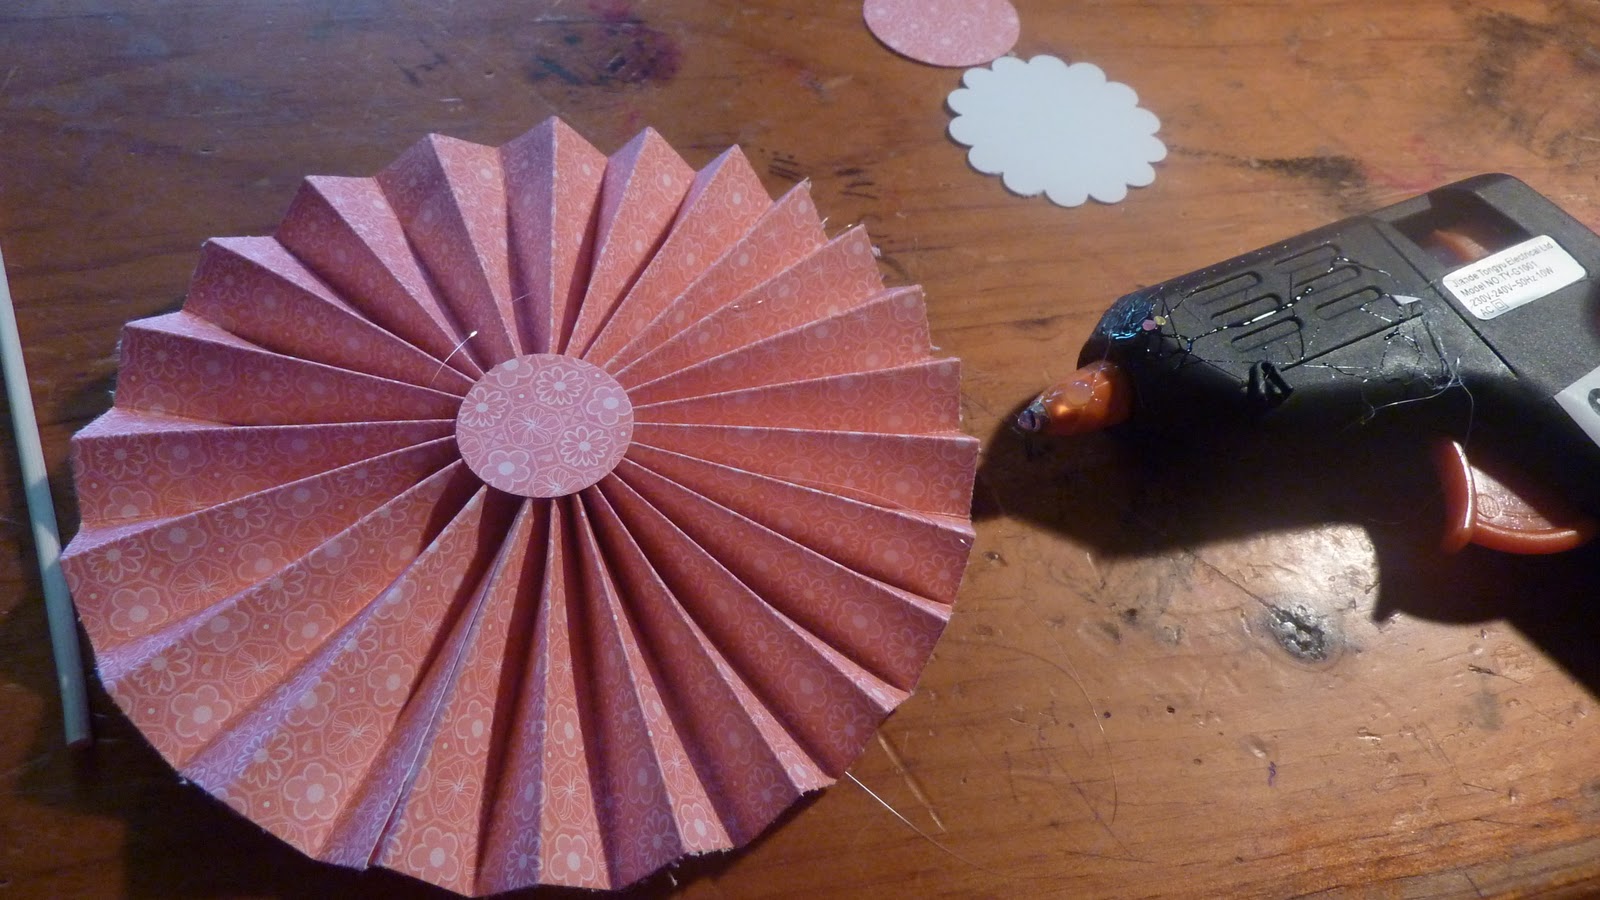
 to get it staying put grab your glue gun and squeeze a bit of glue in the hole in the middle and spread a little bit around the top.
put a small circle (i used a 1" circle) on top of the glue and hold it there for about 10 seconds....hopefully your fingers wont burn too much :>
fingers crossed it is stuck enough for you to quickly flip it over and glue the other side and stick a circle down there too.
then you should be ok to decorate it.
 add your middle bit with hot glue
 and ta-da!!!
it should look something like this.
you can then add it to a scrapbook page or a card or turn into a 3-d flower or on a pennant or a wreath...a thousand zillion uses
 for the flower grab a bamboo skewer 
and poke it into the middle of the back gently
and you should end up with something like this 
 now if you wanted to be a little bit fancy
you can make your ends prettier by punching them with border punches. do this before you go and do the foldy zigzag bit. as you can see different punches make different results.
you can also sponge the edges or distress them-whatever takes your fancy really. 

here's a selection of some i have made

hope this was easy for you to follow
and please leave a link to show yours off to me if you try to make some :>

Monday, November 7, 2011

pocket card mini album

another idea popped into my head whilst i was making my huge pocket card for a scrapbooking page
what if i made a few of them and used them in a mini album as pages?
et voila!
here we are!
 i used the cheerful treat dsp you can get with your hostess dollars
it is VERY pretty
 here are the pages stuck together with the tab punch and ribbon on the pull out pages

and pretty flower using the flower folds die

so how do i make this you ask-eeeaaasssyyy!
 
 take 4 pieces of 12x12 dsp, cut in half and fold in half.
cut off about 5cm from one end.
stick tape on sides and stick together

 use craopadile to punch holes along bottom
 add strip to top of shortest flap.
 add flowers to each page
make cover using a 30x17cm piece of paper.
cut in half and add to a 7cm strip of card which has been folded at 3cm and 4cm
decorate cover-i used flowers and lace ribbon border punch.
 
attach all the pages together with twine and stick to inside of cover with sticky strip
cut out an A4 piece of card into 4.
add a tab punch and ribbon to these and use these for your journalling and photos

clear as mud?
good :P
feel free to ask any questions given how awesome my intructions usually are rofl

cheers ears