Showing posts with label embossing. Show all posts

Tuesday, September 29, 2015

thanks

i belong to a monthly swap
and this month we had a sketch to follow
we also had some "given" objects the leader of the swap 
had sent to us that we had to use on our cards.
i got fabric-some with lines on it and some with apples.
here is my swap
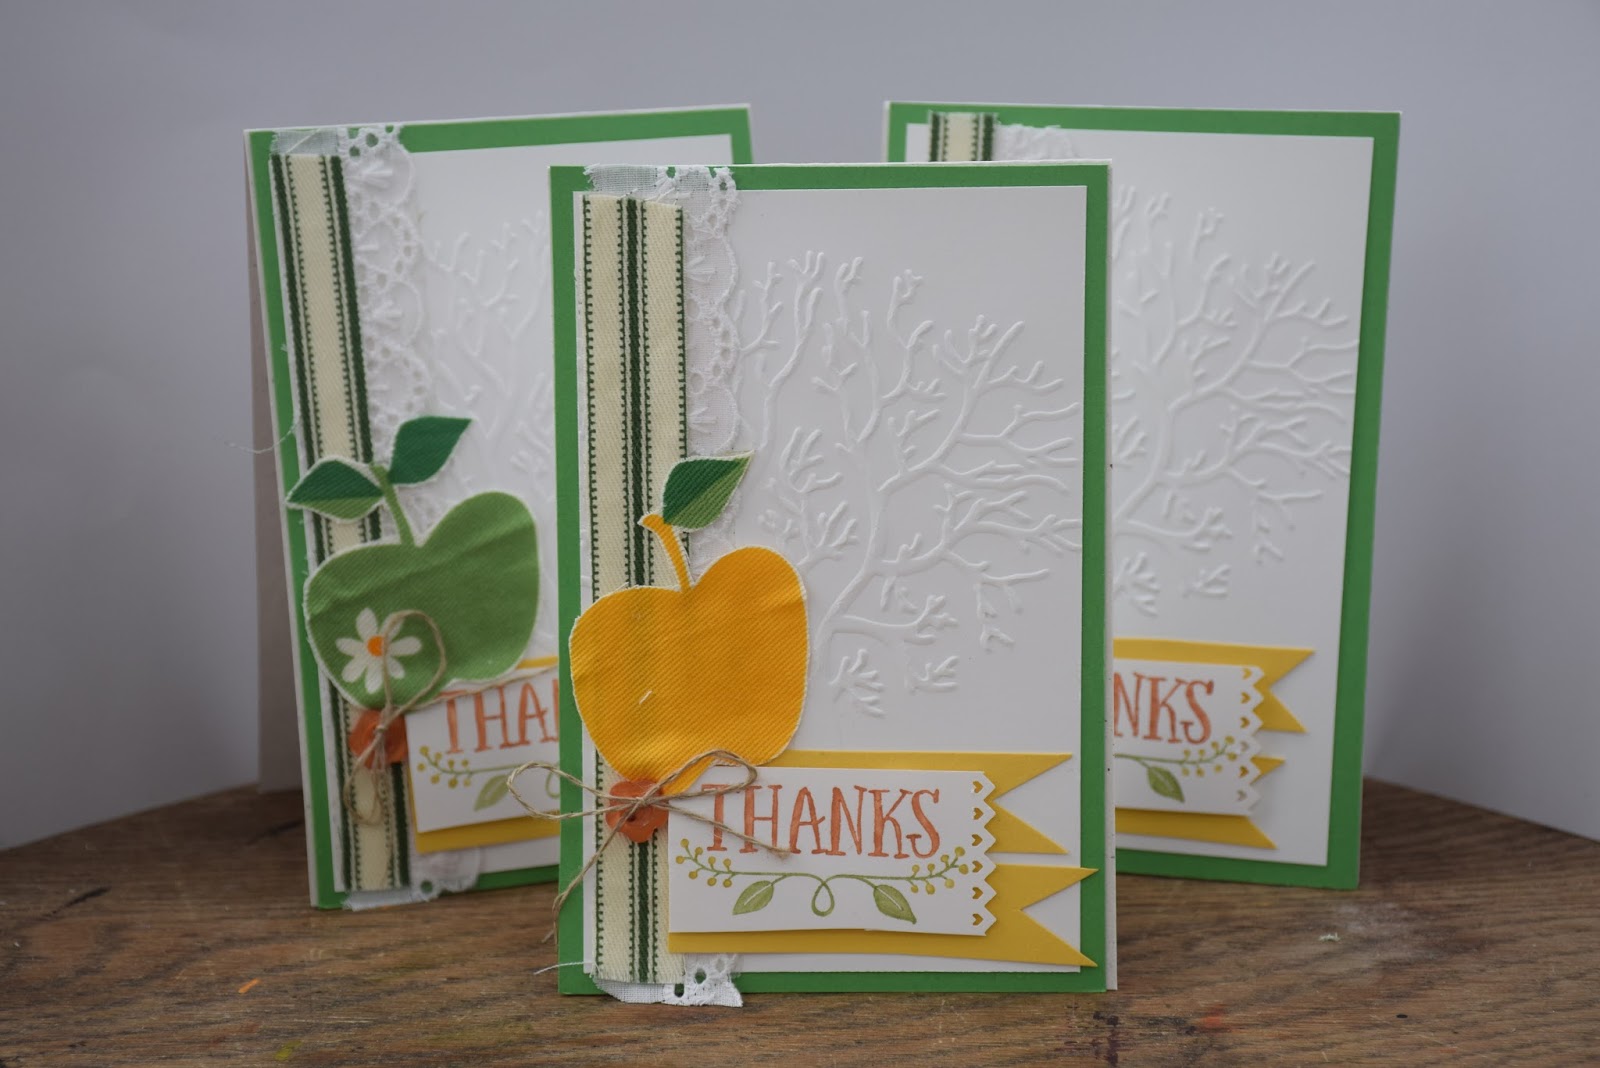
 i used the stamped images from thankful forest friends in front of an embossed tree image
 the apple fabric i cut out the images and sued them whilst the striped material was used for a banner strip on the side with a bit of lace added to it.
i made an extra card with the leftover scraps and the other sentiment from the set.
i also added some buttons and twine this time.

Sunday, July 6, 2014

a frozen olaf

if you are a mother of little girls 
then you are like me 
and know all the words to "let it go" 
my kids (yes even the man-cub) 
have enjoyed frozen 
and love watching snippets of it on you tube
especially olaf
he is the best :)
 here is my ode to olaf.
i have done a shaker card 
with seed beads, snow flakes 
and sequins in the middle
 olaf is made using a variety of circles and ovals 
with the bird punch for his arms
 around the edges i have 
used some snowflake chain i had 
plus some buttons from my stash.
 the top i used some white ribbon with a heart charm and bakers twine 
and used an itty bitty banner framelit 
with a hand written sentiment 
(because i didn't have one small enough to fit in it that i liked lol)
 i embossed the window sheet 
with a snow flake design 
and used the leftovers as embellishments 
for the corners 
and added some pearls and diamantes to them
here's the shaker element of the card 
with an embossed cover and seed beads, 
sequins and snowflakes inside 
and in a large scallop circle shape

the idea for a shaker card was inspired by the challenge set by the just add ink girls 
and i figured it was quite a cool element 
to add to my olaf card

cheers ears

Friday, June 6, 2014

orange rose of victoria

i have just gotten back from the south pacific convention 
and we were lucky enough to have a play
 with the new blendabilities coming from stampin up 
but also got a free stamp set and pens to play with
woohoo!
i love being a demo!!

so i decided to use my new goodies for a colour challenge 
CCREW0614DF
using our favourite colour
mine is orange so these pens are pretty close
we were also encouraged to use our favourite colour 
in a new colour combo 
so i used a colour i don't like 
(old olive) and soft suede

 i also made a box card using the tutorial from split coast stampers which was easy to follow
i made mine with naturals specialty card which made it quite chunky and hard to fold
....just so you know lolol
firstly i stamped the flower using versamark and black embossing powder 
(although there will be a momento black ink especially for this purpose very soon)
 i coloured in the new flower stamp from the 14/15 catalogue using the new blendabilities we got
i started using the lightest one first and then got darker and darker
around the edges i used normal pumpkin and caramel markers and then added some crystal effects
inside the box/card i used some watercolour wonder dsp and a stamp from a new stamp set
this was sent to a friend for her birthday 

cheers ears

Monday, June 2, 2014

butterfly dancer

i seem to be on a theme this month with my butterflies
so here is another play with my butterfly punches.
this one was for the creative crew
to celebrate your best friend on a scrapbook page or by making a gift for them. 
this is a gift for a friend going through a lot at the moment and she loves butterflies
and pink ones as well....
i was inspired by a picture i pinned on my pinterest boards and changed it a bit to suit what i wanted and the materials i was using
 her hair was made using caramel card stock and then drawing strands of hair using a variety of oranges, browns, white gel pen, gold and kindy glitz
 
i also layered the card to give it some extra dimension
 flowers were done using white embossing powder stamped using a tiny flower from a new set from the new 2014/15 catalogue
 skin was done using light pinks sponged on lightly.
dress was melon mambo sponged with mambo and white
 background was sponged using a variety of blue and green inks layered from light to dark on a soft sky 12x12" card stock

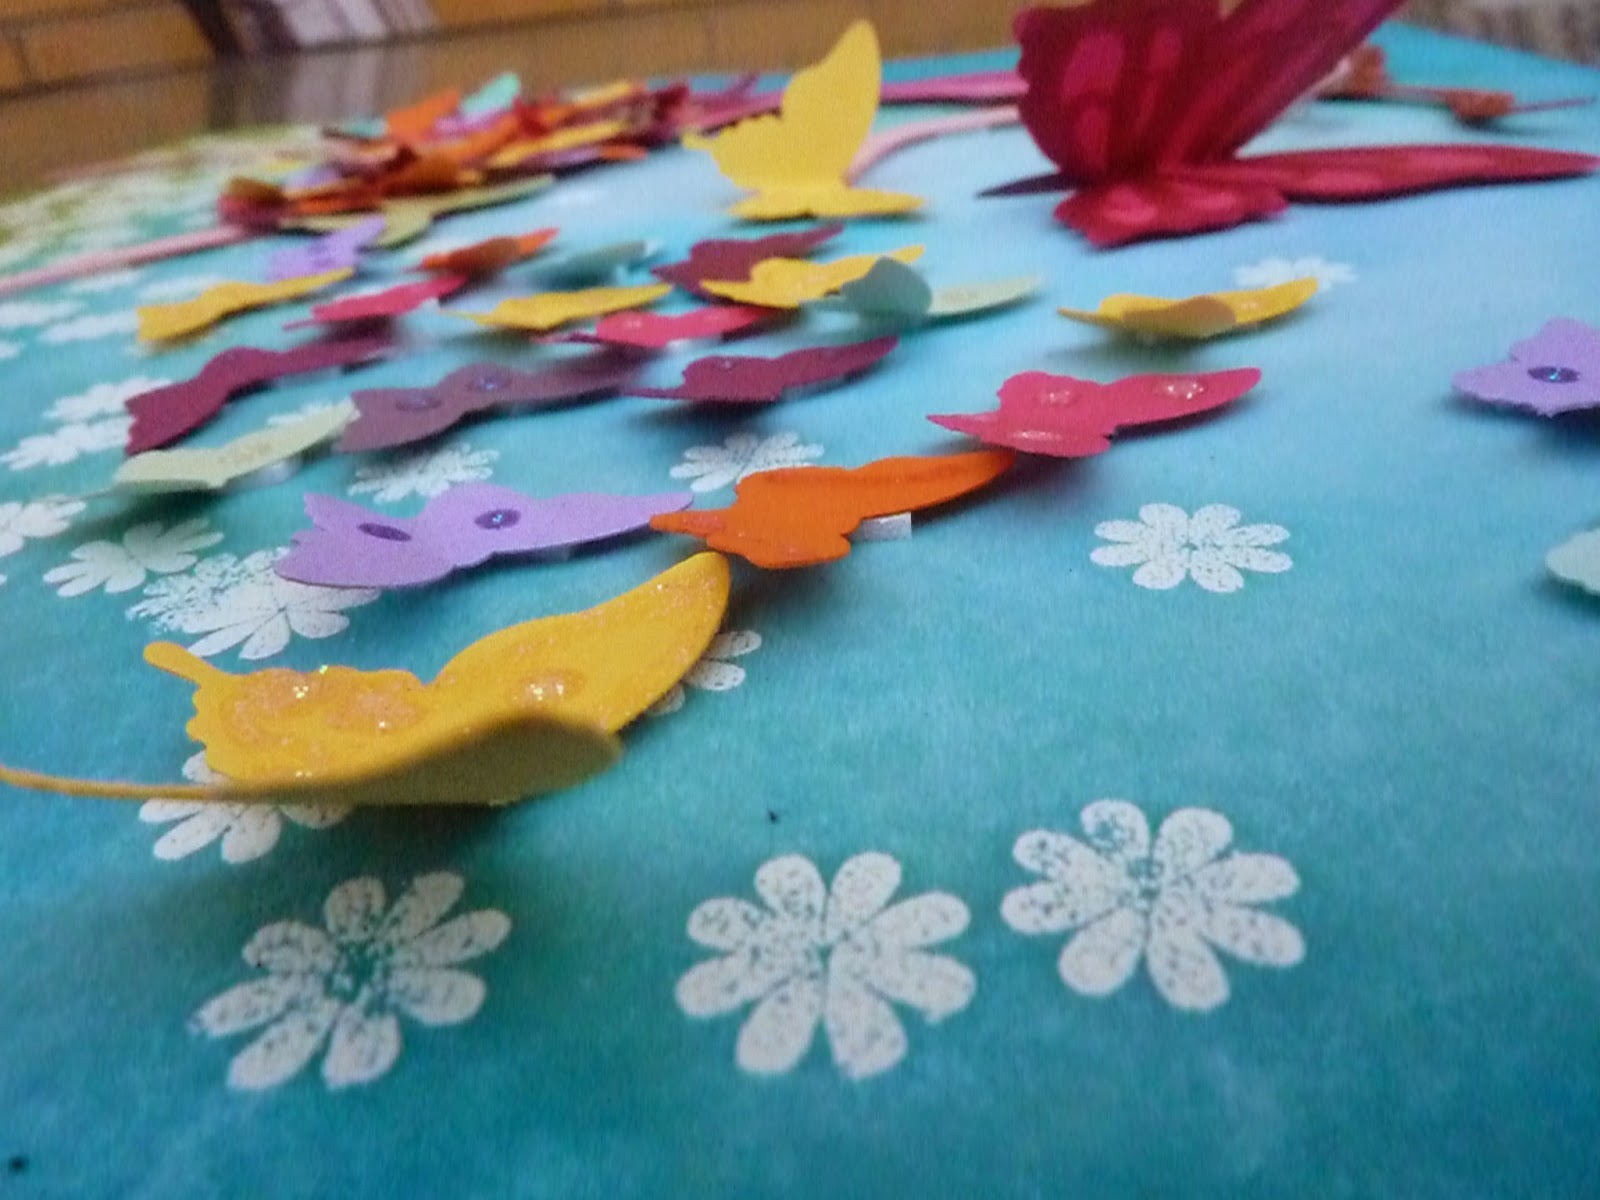
butterflies were stuck on with dimensionals with 1 wing up with kindy glitz to give more 3d effect.
the butterflies on the dress were quite hard to position and most are stuck down just using snail but some are stuck using glue dots.
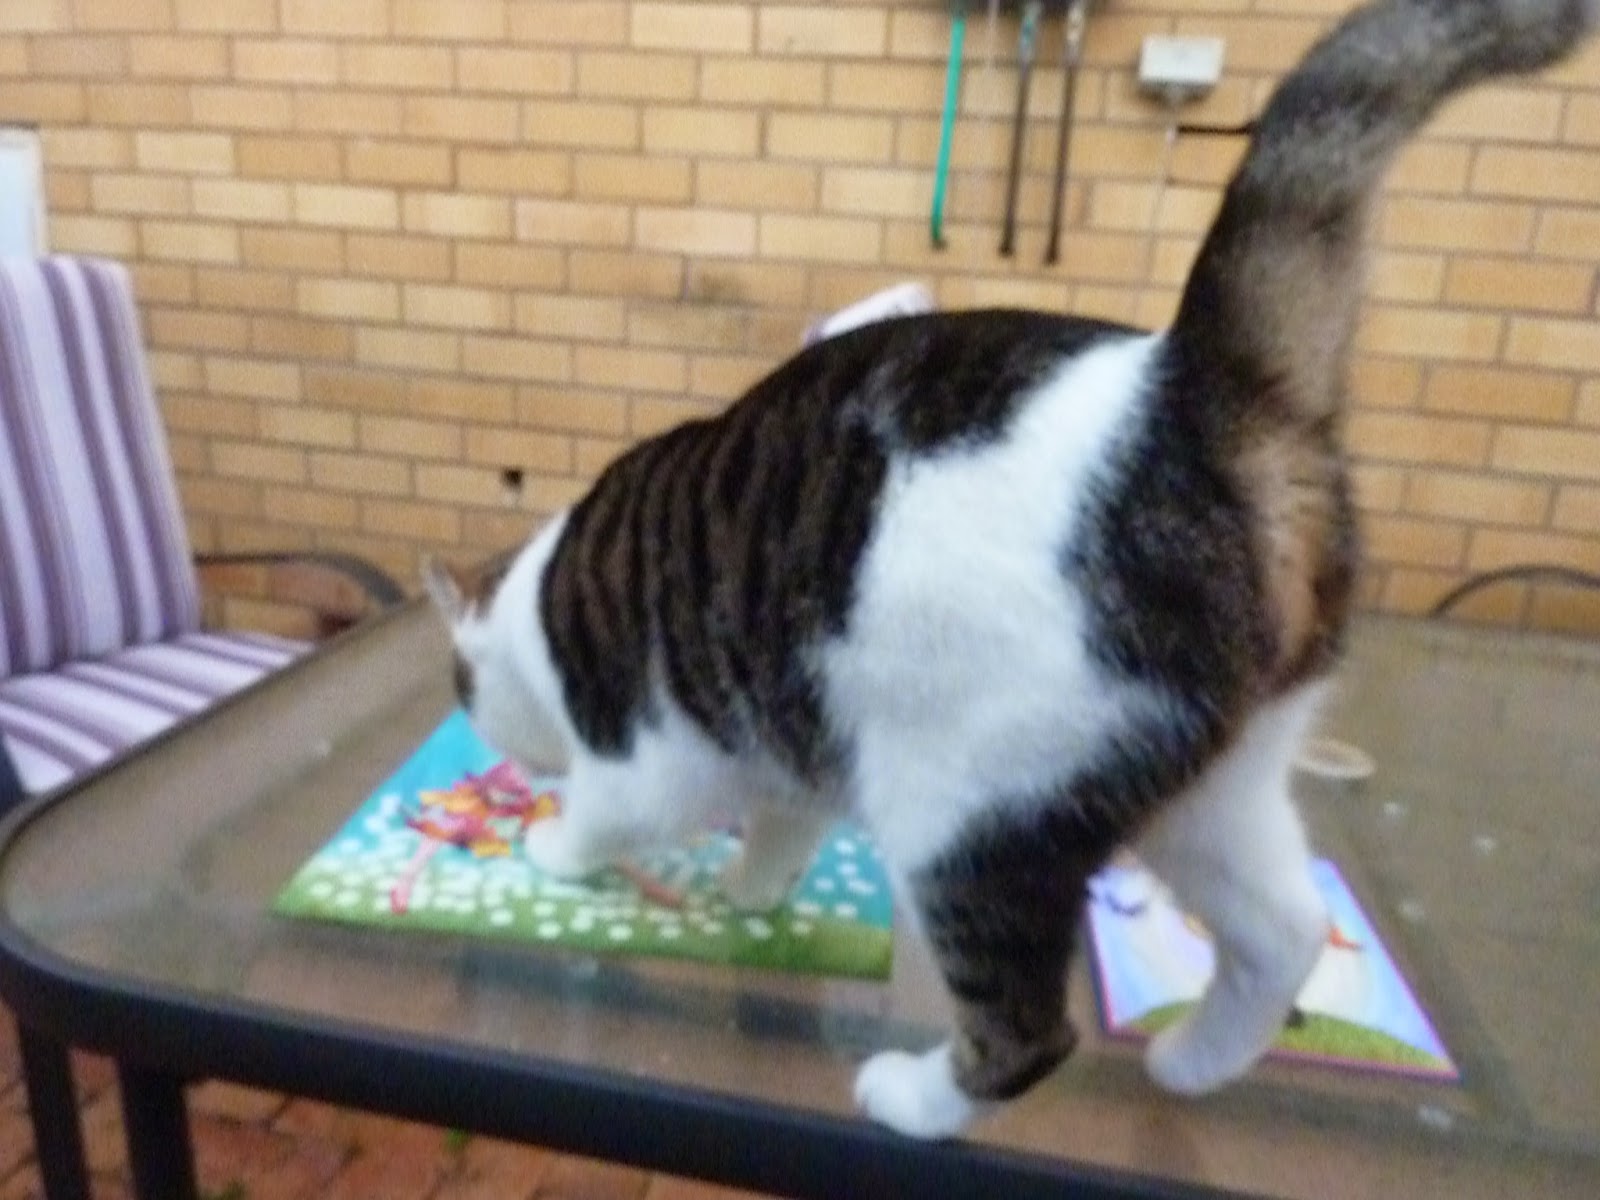
here is my feline "helper" checking my stuff out while i am attempting to take a photo. she was rather bemused by the butterflies and tried to eat some of them before she was very unceremoniously shooed from the table...much to ehr disgust lololol

cheers ears

Saturday, April 5, 2014

minecraft birthday card

my son is obsessed with minecraft
so are all his friends
so it was just a matter of time before  
i was asked to make a card and a name plaque lol

 card in a box minecraft birthday card
used the square punches A LOT!!!
plus tag it set and the blast off stamp set and hexagon punch
 brick texture on grey was made using a brick embossing folder
 i dig you from tag it stamp set and arrows made using hexagon punch
 card in a box is a 6cmx6cm square size
embossing texture inked up with some basic grey ink

font for name from internet and adapted into card with some basic grey ink
creeper is done in gumball green
pick axe handle was made using the zigzag from tasteful trim die

hope the birthday boy loves it as much as the giver lolol

cheers ears

ps more minecraft party ideas here

Tuesday, October 8, 2013

don't go chasing waterfalls

lalalalalaalalallalalaaaa hmmmmmmm
yeah those are totally the real words huh?
anyways back to reality and not my audition for x-factor
i made a waterfall card today
actually i made 4 of them (for a swap)
i love these cards but loathe them as well
why?
because i sit and dither sooooooooooo much about what the design will be.
truth be told i am not completely happy with these ones
but i have run out of time so meh...apologies to those who are getting my swaps this month

have a gander at them and tell me what they need

 flat card
pulling tag so waterfall effect happens
 final square with all squares pulled down

the colours i have used is based on the just add ink challenge for this week
which uses 
okies cheers ears


Wednesday, October 2, 2013

embossing oops!!!

  you know THOSE  moments when you totally fuck stuff something up by spilling something on your work
yup
normally it is water
or cola
or a stamp falls off its clear mount exactly where you didn't want it
or...
someone little finds your embossing powders that you left on the craft table open and pours them into a big pile on that table and then makes lovely finger drawings with it...

yeah

you are so saying "oh no!!!!!!" right now aren't you?

to be fair i DID leave them out
and they are TERRIBLY SPARKLEY for little miss magpie

sigh....

so what does one do with a large pile of mixed up embossing powders??

throw them out? well yes that is an option but i hate wasting stuff
so i figured i may as well make "stuff" with it and see what happens

so i got some inky backgrounds that i had made playing with watercolours, spritzing and ink refills and were particularly uninspiring.
i inked up a variety of stamps with versamark and randomly stamped stuff all over. then added the embossing powder a la katie
and heated it up.

it actually wasn't too bad.
then i made cards with the results...


cheers ears

Saturday, September 28, 2013

ornament card

quite like the new ornament punch
and the stamp set that goes with it

for a different coloured themed christmas card try blue/silver/white this year


here i have used some pool party and silver embossing powder with the stamps as well as using the marker to stamp technique on another

simple easy cards

cheers ears

ps i am doing these as a stamp-a-stack in october. contact me clare@crafty-cow.com for class times, prices and dates if interested.

Wednesday, July 17, 2013

using up your stash

stash
it is a nasty word
especially when you have a bit of it and need to use it up
i am trying to cut down on my random purchases this year and use what i have got first
HAHAAHAHAHAAHAHAHAAHAAHA i hear you laughing because WHAT CRAFTER IN THEIR RIGHT MIND hasn't said that before riiiiight?!

anyways my friend sal gives us cardmakers these really cool swaps to do over at essential baby  and i try really hard to use stuff that i haven't touched at all or can't remember the last time i used it. our challenge was to do a centre step card and use stripes and people.
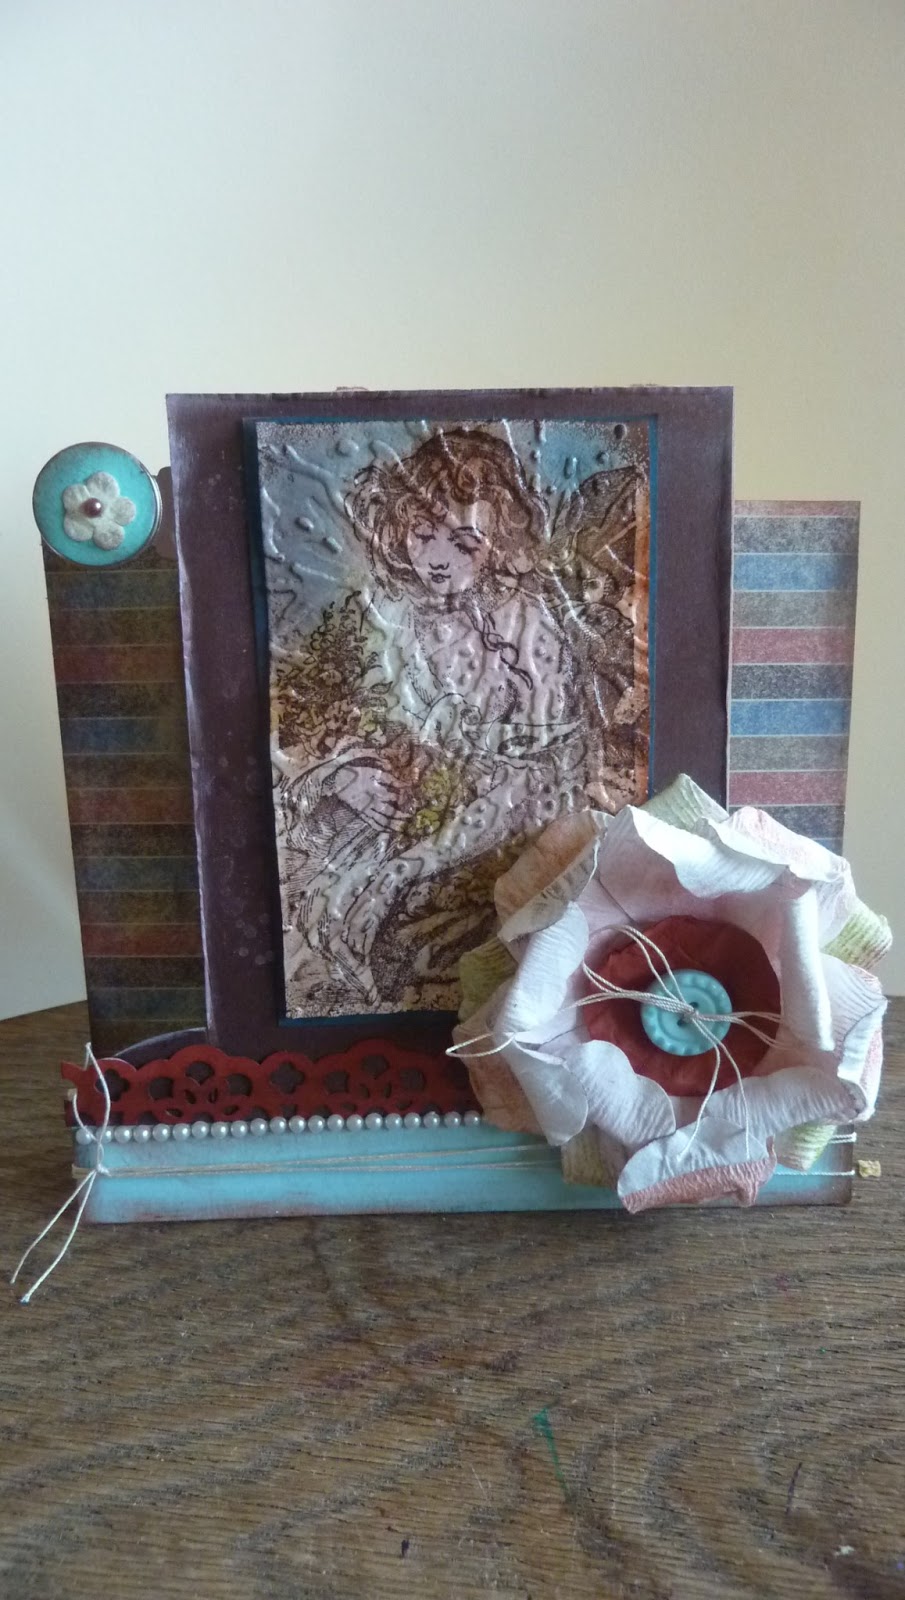
 a centre fold card is easy even for a non-measuring type of chick like me. for instructions go to splitcoast stampers  and they are very simple to follow. i used some retired su dsp for the stripes and an old fashioned stamp from my stash as the image.
 i wanted the image to look old so put it through the big shot with a broken window embossing folder and then put clear embossing over the top
i also added some embroidery string, flowers from a reverse garbage trip, punched out trim  and a row of small pearls.
i hope my swap girls like them
cheers ears

Monday, January 16, 2012

giving and recieving

i love recieving gifts and getting gifts
come on now-who doesn't???
so i was VERY pleased to be part of the INKLINGS secret santa this year.

i have to fess up and say that my secret santa Belinda was landed 
with the vague idea of 'anything orange' and boy did she do a great job!
amongst the chocolates, ribbon, material and other goodies she made this amazing card.
 it is called a multifold card designed by the talented odette kermode
it works well as a card and as a scrapbooking layout too
 i loved it so much i had to case it so i did!!
i used razzleberry, pumpkin pie and vanilla on mine.
i embossed the razzleberry with an embossing folder that i then rubbed over with white ink with touches of pumpkin and suede.
 the vanilla i rolled vintage lace in white. then i quick dried it and stamped images from the established elegance set in pumpkin.
then i went over all of that with some friendly words in vintage sepia versamark ink. after that i sprinkled clear embossing powder over it all and heated it to give it a shine. to top it off i sponged the edges and a bit in the middle just to make it more vintagey
 the belly band had a pin on it with some beads attached to a heart and some orange ribbon tied to it.
 in the middle i added some ribbon, a square brad and an element from the friendly words roller. i wrote my message on a tag attached with dimensionals.
i also rolled suede over the back of the card to really finish it off.
i hope my recipient liked it :>

cheers ears


ps thanks to all of you for your lovely jubbley comments and emails. it is so nice to hear from you all from all around the world :>
here is a link to the instructions because my email box can't quite keep up with you and i suspect i may have lost some of you :< so sorry

Sunday, December 4, 2011

frosty the snowman

so over at the creative crew this month we have been given a sketch to follow
as soon as i saw this i groaned because me and circles are not friends
we do not get on creatively and never inspire each other
so this was a hard one for me
dec-cc-sketch-001-jpg
but....when i turned it around...well...then we had some ideas
it totally looked like a snowman to me so that was what i went with
frosty was made using the following punches
13/4" circle-head
lace ribbon border-snowflakes
square-hat
owl-heart, eyes
3/4" circle-mouth
large circle die-tummy
i also used a snow inspired embossing folder for the background that i sponged with silver ink and stamped the sentiment from inviting down the bottom

Sunday, November 6, 2011

how else you can use the stampin up catalogue

apart from buying everything in it of course hahahaahaha
it is an excellent source of ideas and inspiration.
this month the creative crew were asked to case a card from the catalogue and it had to be a tall card

i ummed and ahhed about a few and played with a couple but they were a bit poop 
(so i am not showing you them here!!)
and finally was happy with this card inspired by page 78 and the nature's nest set.
 the original used oranges and green and razzleberry i think
i swapped those colours for black, white and melon mambo
i changed the scallop trim punch for the lace ribbon punch
and the dragon fly for a butterfly.
the sentiment also got changed
i also wanted to change the medallion stamp from being subtle to being in your face!!
so i used the melon mambo embossing powder to really pop it out!
to finish it off i made a matching envelope using the very cool long envelopes from stampin up

i would love to see what card sketches have inspired you
feel free to leave your inspirations in the comments section and i will pop on over and say hi!

cheers ears

Friday, November 4, 2011

quarter fold card

now here's a new one for me!
i have to say that i have never done a quarter fold card or heard of one before
until we were asked to make one for the creative crew challenge
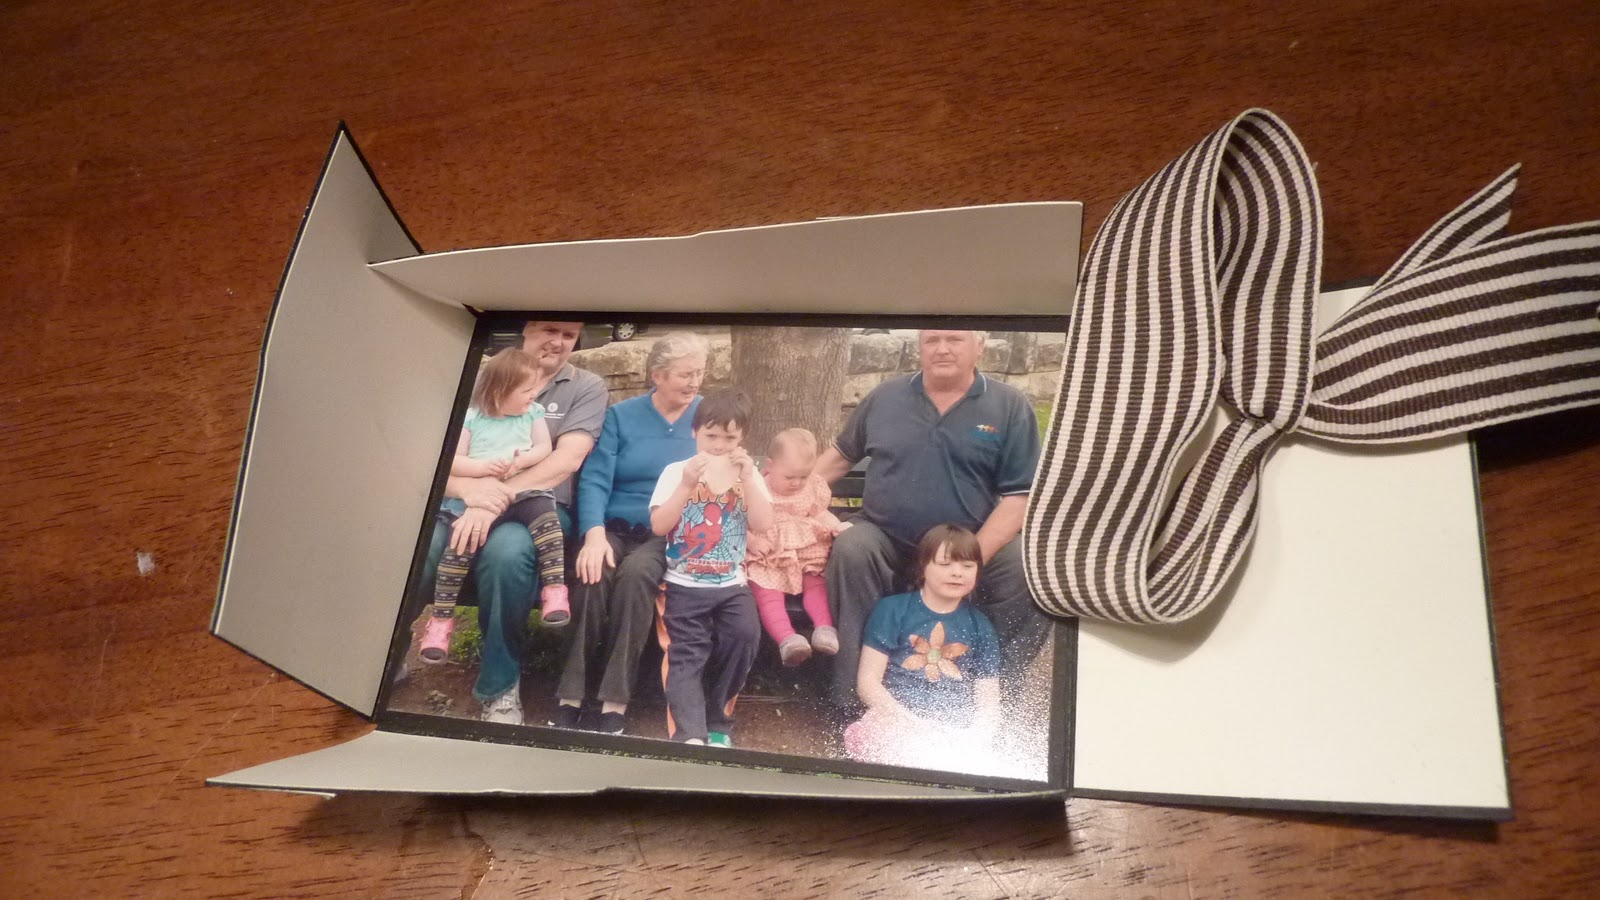
they are very easy to make and perfect for adding a photo in!

here is my offering
 i used black card stock with wasabi and white to off-set it a bit.
stamps were my jumbo rollers (sparling and sparkle and shine) with some versamark 
and then some wasabi embossing powder heated over the top.
be sure to use your embossing buddy to stop the static on your card collecting the powder.
border is from the pennant die.
also soem tiny tags added to the ribbon.
 here it is minus the ribbon
 unfolded with the photo inside. 
i also added some white inside so the kids can write xmas wishes to their grand parents :>
 one side was done with the sparkle and shine roller with a white star added to break up all the green
 sentiment is from season of joy and stamped in black
here is the card spread out before folding so you can see how it fits together.
it gets put together much like folding up a box with 4 flaps 

here are the measurements i used to make a card to fit a normal sized photo in (14x10cm) with where to put the folds in as well.
now if you know anything about me these measurements are approximate lol and may need a bit of tweaking hahahahaha

cheers ears