Showing posts with label 3d. Show all posts

Sunday, August 17, 2014

orange poppies

i have seen a few building block cards 
around and thought i 
would have a play with them myself 
as they seemed really cool....
and they are!
 i made mine for my orange challenge 
over at splitcoast stampers for their 
mega august challenges and as a thank you
for a friend and family who looked after us like royalty when we visited them recently
 i used the poppy parade stamp
and coloured it with my blendies
 most of the building block cards i ahve seen
have got the tops covered but then they
wont fold down into an envelope so mine is bare for that reason-i needed to post it

 here it is flat with the sentiment 
and some extra buterflies to add some pop!
 the back of the card is left relatively plain

hope my recipients like it

cheers ears

Monday, June 2, 2014

butterfly dancer

i seem to be on a theme this month with my butterflies
so here is another play with my butterfly punches.
this one was for the creative crew
to celebrate your best friend on a scrapbook page or by making a gift for them. 
this is a gift for a friend going through a lot at the moment and she loves butterflies
and pink ones as well....
i was inspired by a picture i pinned on my pinterest boards and changed it a bit to suit what i wanted and the materials i was using
 her hair was made using caramel card stock and then drawing strands of hair using a variety of oranges, browns, white gel pen, gold and kindy glitz
 
i also layered the card to give it some extra dimension
 flowers were done using white embossing powder stamped using a tiny flower from a new set from the new 2014/15 catalogue
 skin was done using light pinks sponged on lightly.
dress was melon mambo sponged with mambo and white
 background was sponged using a variety of blue and green inks layered from light to dark on a soft sky 12x12" card stock

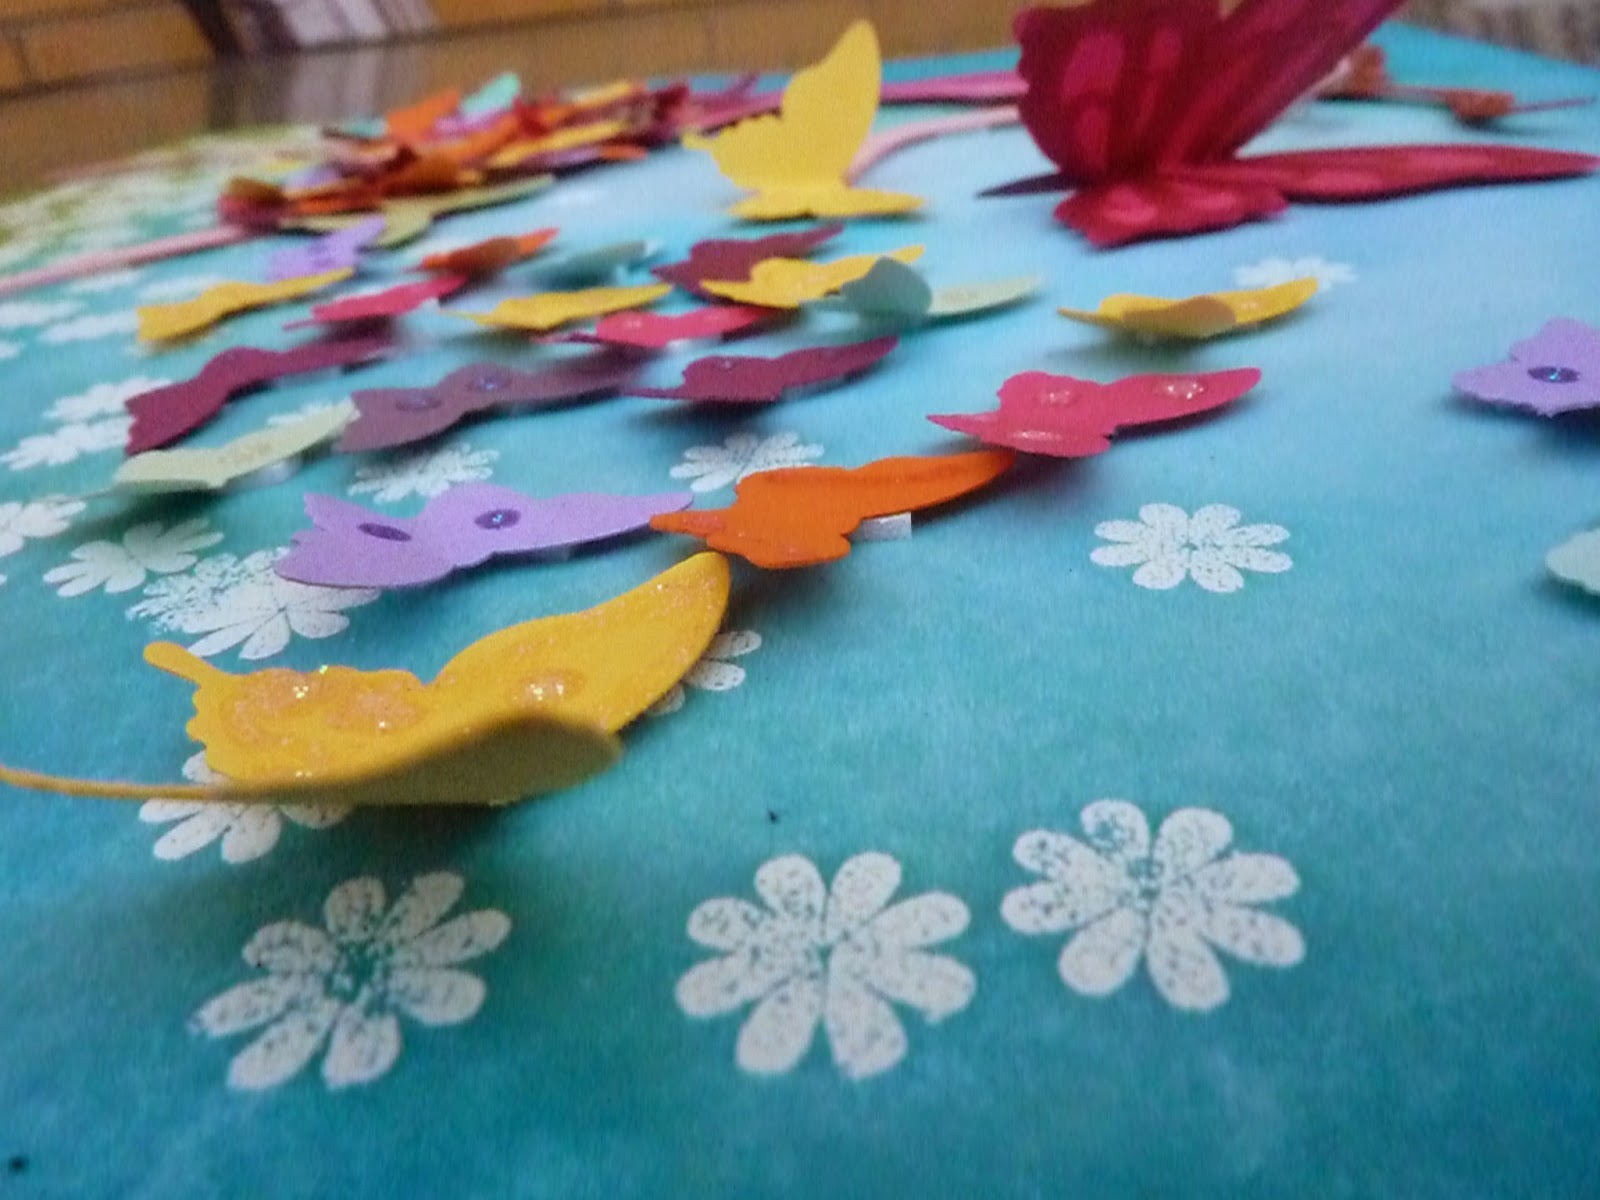
butterflies were stuck on with dimensionals with 1 wing up with kindy glitz to give more 3d effect.
the butterflies on the dress were quite hard to position and most are stuck down just using snail but some are stuck using glue dots.
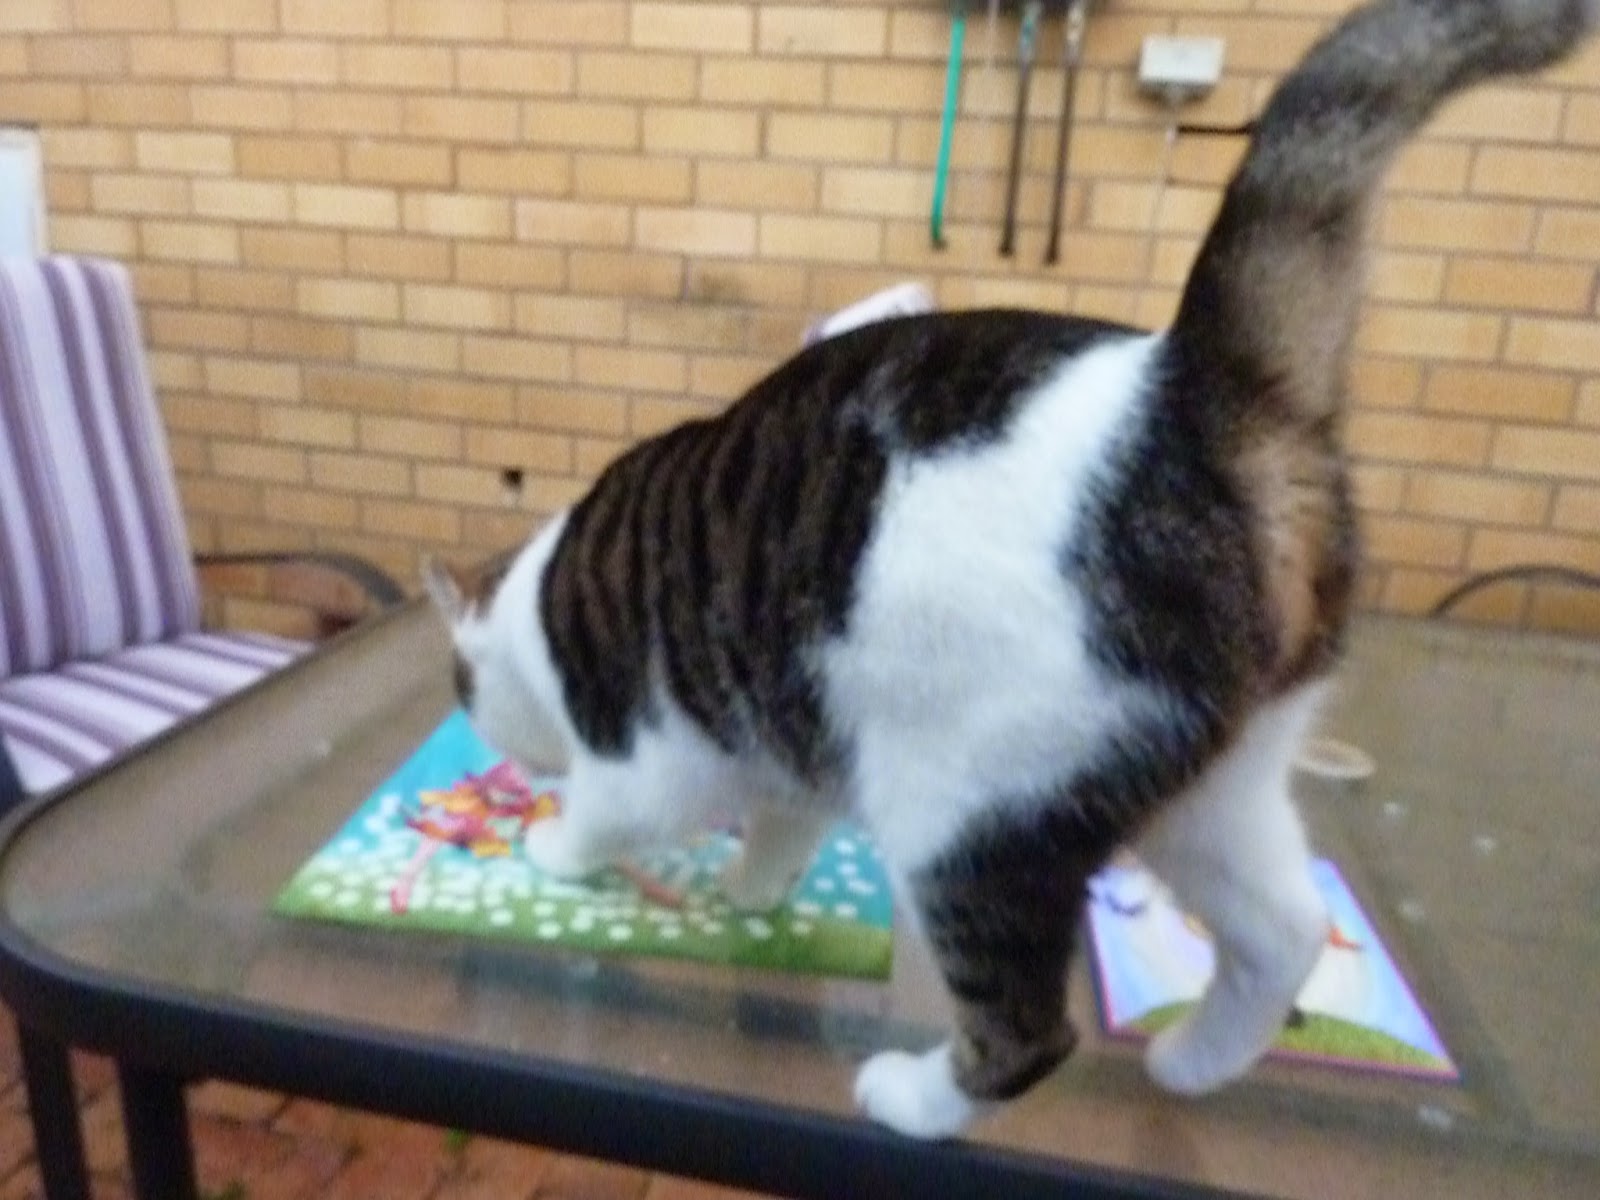
here is my feline "helper" checking my stuff out while i am attempting to take a photo. she was rather bemused by the butterflies and tried to eat some of them before she was very unceremoniously shooed from the table...much to ehr disgust lololol

cheers ears

Wednesday, May 28, 2014

clay earrings and gift box

i made these for a very special person at convention
i hope she liked them

they were made by squishing the paper clay into the baroque stamp and colouring in with inks. 
then i covered it with crystal effects
then i made a pretty little gift box for them to go in

cheers ears

Tuesday, April 15, 2014

how to make a skylander pinata

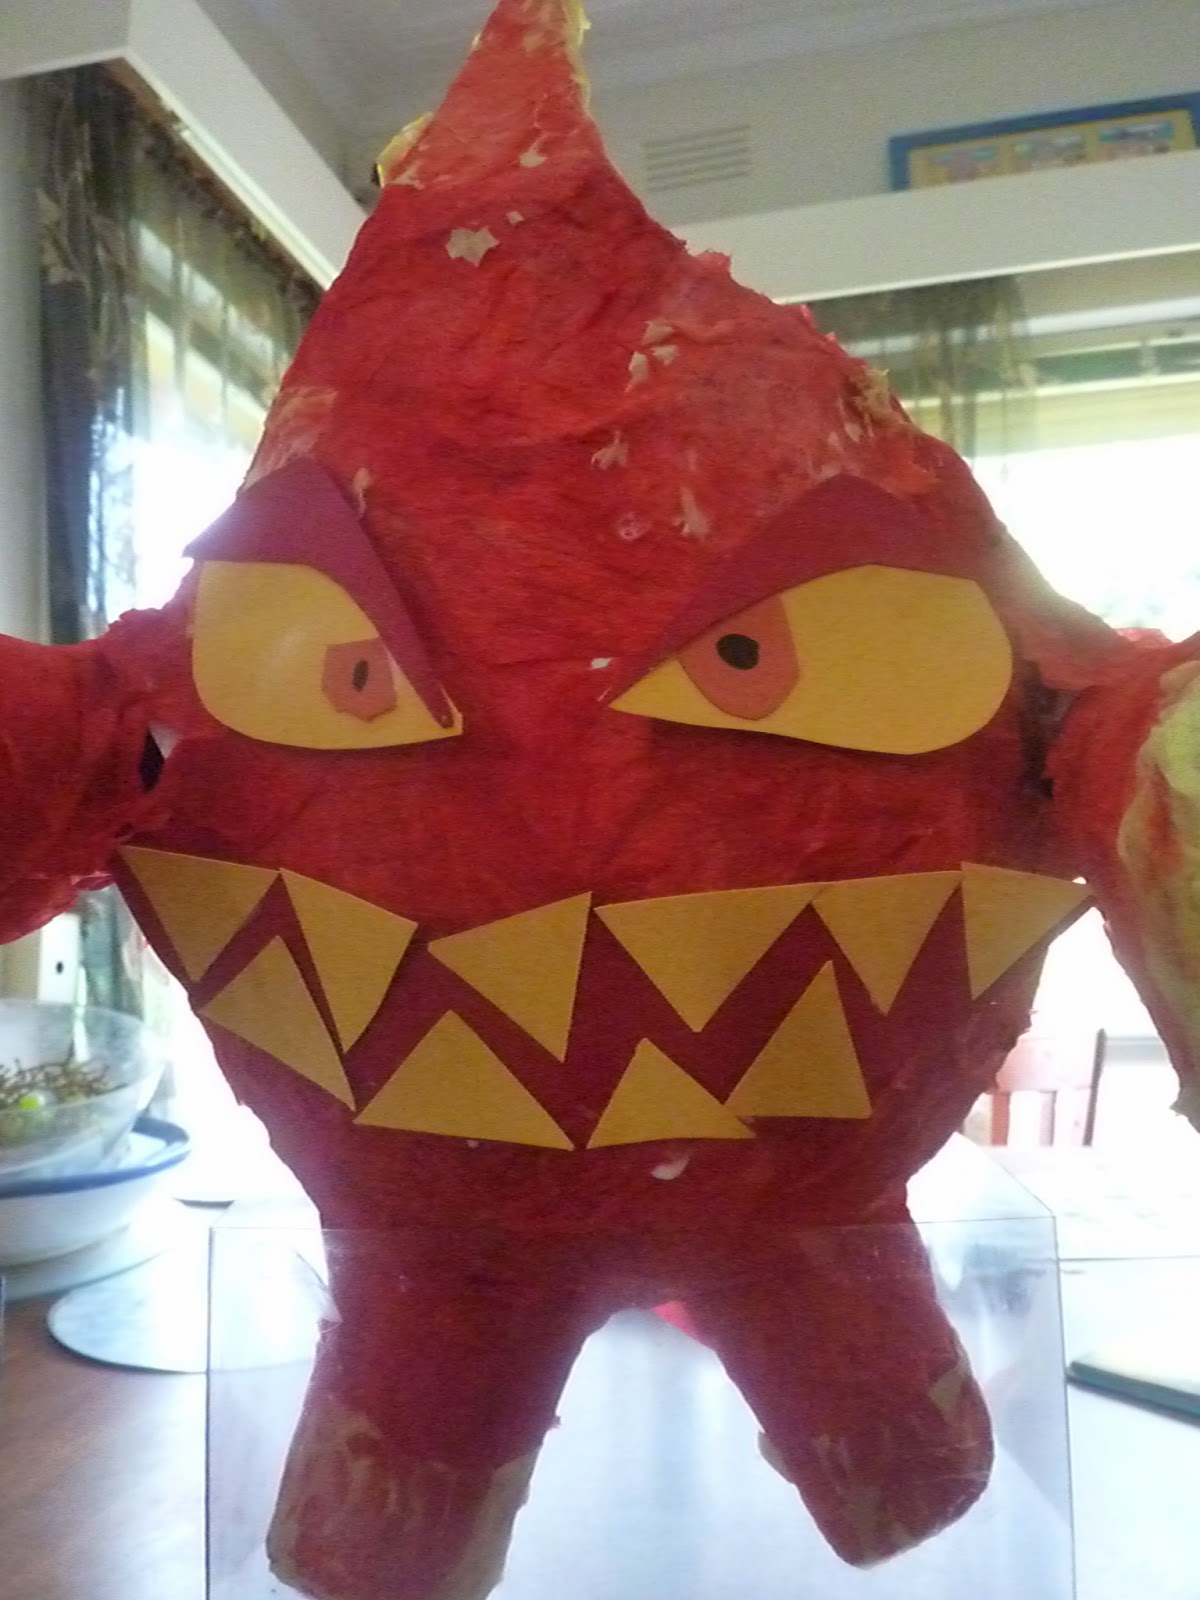
this is eruptor
he is a skylander
my son wanted him as a pinata for his birthday
so we got a balloon
covered it with a layer of newspaper and glue
glue was half water/half pva
next layer was lined white paper

then another layer of newspaper
 when it was dry
(a good 24 hours seeing ti was pouring with rain here)
i also ahve to admit to
trying to speed up the drying process by
putting it near the oven as it cooled down
...bad move..
the balloon popped
and pinata imploded
like a black hole..
.so we had to start again...sigh
next layer was adding the arms, legs and fin using a cereal box and a heap of masking tape
arms were cones and legs were cylinders
 
then we covered all of that with lined paper
 when that had dried (24 hours-no oven...i learnt my lesson lmao)
 we glued down the crepe paper
this is easiest done by using a brush and paintign the glue onto teh pinata nd then adding the paper
complete pain in the butt doing it with your fingers
sticks every-freaking-where!

 addded eyes and mouth with coloured card and left it to dry for 24 hours
fin had yellow crepe paper over the red
arms were shoved full of newspaper and just the top bits had crepe paper shoved in and covered
nice sharp triangle teeth lol

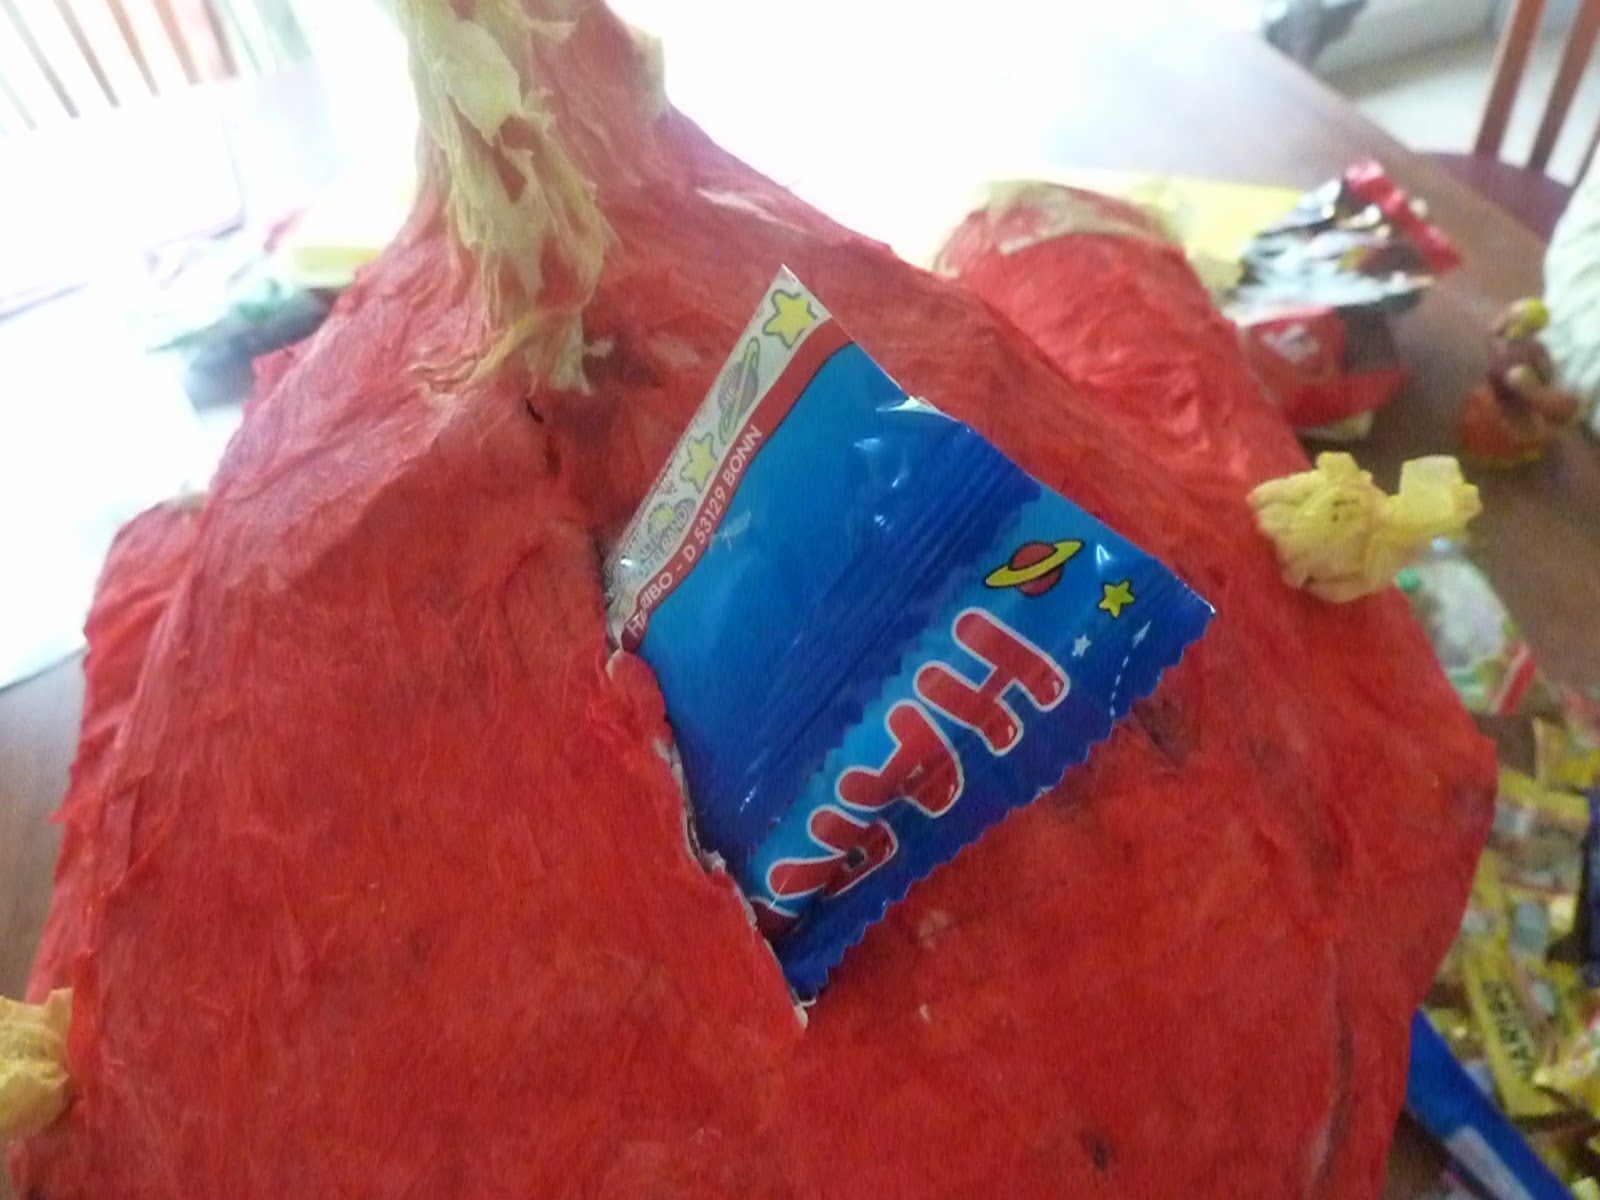
 then i cut a small incision in the back of his head to squeeze the lollies in
 just like this-all the lollies were in packets 
so they didn't get all dirty when they fell on the floor
i put in about 6 different packets
 for each of the kids so 
eruptor weighed quite a bit 
by the time we were finshed and he was quite full!!!

here's the birthday boy having a smash!
eruptor lasted about 12 smashes
he was not as strong as previous years-only 3 layers which was good
his arms and legs fell off pretty quick though lololololol

cheers ears

Friday, April 11, 2014

a home amongst the gum trees

Give me a home among the gum trees
with lots of plum trees, a sheep or two, a kangaroo
a clothes line out the back, verandah out the front
and an old rocking chair


a great aussie song
one i thought i would try and imitate via stamping, punch art and collage.
this is a 3d version i thought i would have a try at.
i used the natural composition paper as the base then added leaves die cut from dsp
house is stamped using the hardwood stamp with a roof from the hexagon embossing folder
swing is a retired stamp set called summer afternoon and cat and dog are from cool kid set
not sure it works but it was fun to make!


cheers ears

Sunday, February 9, 2014

beautiful butterflies

butterflies are just amazing aren't they?
they are such beautiful objects of nature

here is a name plaque i was asked to make with some butterflies and flowers


if you want me to make one for someone special in your life feel free to 
contact me clare@crafty-cow.com 
for more details

cheers ears

Friday, February 7, 2014

thomas the tank engine

thomas the tank engine is a favourite all around the world
we love him here too
here is a tutorial on how to make him
...although my measurements might be a bit dodgey lol

 i used the following punches
owl punch for lights, eyes, 
cupcake punch for eye balls, candle part for chimney
1 1/4" circle for face
1" for mouth
xl oval for roof
strips of blue in 7x3, 7x4, 6x2, 6x4 all cm
strips of grey 7x2 with edges trimmed to 6cm
strip of red 7x11/2cm
strip of black 7x1cm
word window

 make these bits first 
then add blue bits together and wriggle them around to get the right proportion-some overlap quite a bit to get some layering going
 then add the other bits-some with dimensionals to give some layering 
then draw in the facial features with marker-mine looks a bit crazy-obviously has been hauling too much freight today lmao

this is what i used mine for-a name plaque for a special little boy :>

cheers ears

Wednesday, February 5, 2014

little yellow dinosaur

here's a cute little dinosaur i made for a birthday girl

 got to have eyelashes and a butterfly on your nose to make you cuter
 some pretty flowers
 i used love hearts on her back instead of spots
the whole picture was put onto a piece of chipboard so ti can hang on a door or wall

cheers ears

Monday, February 3, 2014

lala loopsey name plaque

another loopsey post!
this time it is a name plaque done in paper

 i have used button eyes, added her name with die cut letters and used the very fab birthday basics dsp
i also added some pretty ribbon and some lov hearts to make it extra girly

cheers ears

Thursday, January 27, 2011

wedding album

 my neice got married this month 
so i created this unique wedding album for her as my gift to her

i used 2 kaisercraft fairytale castles 
and added stampin up's beautiful love letter and newsprint designer series papers
along with a huge collection of accessories such as
ribbon, glitter, chipboard, antique tags, lace, brads, flowers etc etc
plus the obligatory stamps of course :>

normally when i do an album i usually keep it very simple and clean cut
but being the new year and wanting to try new things
i thought i would unleash my inner vintage/shabby chic/visual feast monster upon the world.
i also had limited supplies i.e. what i had brought with me to nz from sydney
so no zipping into the craft room to get stuff.
it also made me use what i had and think up different ways to use them.
i am glad i did this because it made me use a lot of my die cuts more and papers in different ways.

scroll on down for pictures of what it looked like inside....warning there are loads of them!!!!
if you see somethign you like and want to know how i made it or did it please feel free to ask :>


tomorrow i'll show you the card i made
and how i had to wrap it all up-that was a mission all in it's own!!!

cheers ears