
thomas the tank engine is a favourite all around the world
we love him here too
here is a tutorial on how to make him
...although my measurements might be a bit dodgey lol
 i used the following punches
owl punch for lights, eyes,
cupcake punch for eye balls, candle part for chimney
1 1/4" circle for face
1" for mouth
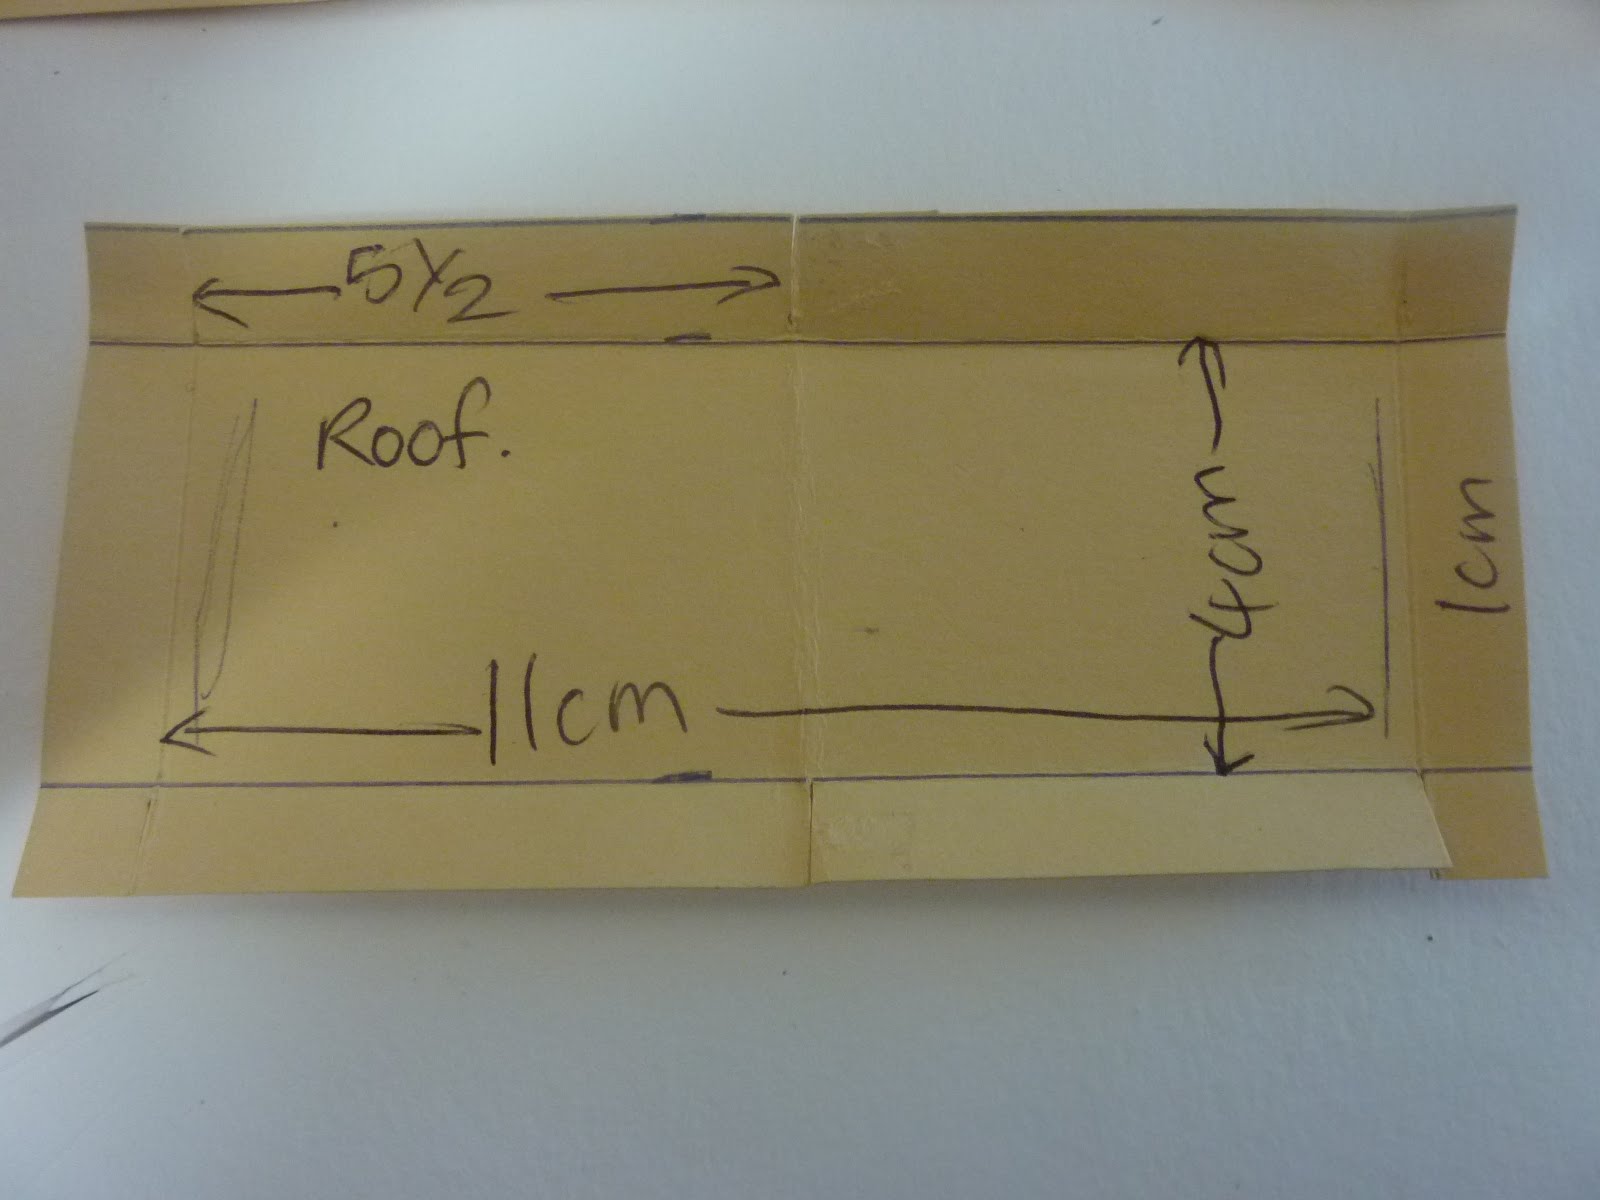
xl oval for roof
strips of blue in 7x3, 7x4, 6x2, 6x4 all cm
strips of grey 7x2 with edges trimmed to 6cm
strip of red 7x11/2cm
strip of black 7x1cm
word window

make these bits first

then add blue bits together and wriggle them around to get the right proportion-some overlap quite a bit to get some layering going

then add the other bits-some with dimensionals to give some layering

then draw in the facial features with marker-mine looks a bit crazy-obviously has been hauling too much freight today lmao

this is what i used mine for-a name plaque for a special little boy :>
cheers ears


